This task shows how to split surfaces then create a multi-sections surface and two fillets.
-
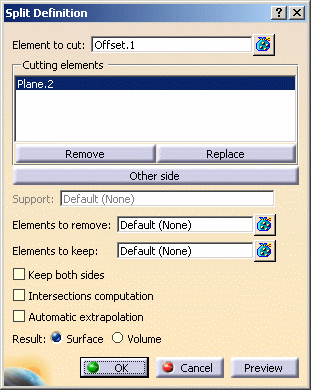
Click Split
 .
.The Split Definition dialog box appears.
-
Select the offset surface by clicking on the portion that you want to keep after the split.
-
Select the first plane (Plane.2) as cutting element.
-
Click OK to split the surface.
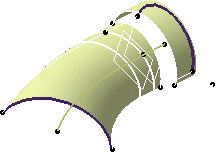
-
Repeat the previous operations by selecting the multi-sections surface then the second plane (Plane.3) to define the intersection first, then to cut the surface.
-
Click OK to split the surface.
-
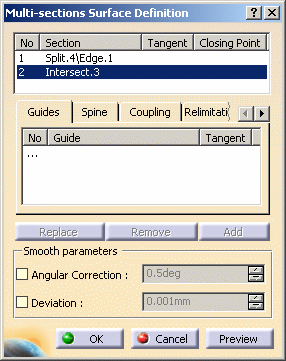
Click Multi-sections Surface
 .
.The Multi-sections Surface Definition dialog box appears. -
Select the intersection edges of the two split surfaces as sections.
-
Click OK to create the multi-sections surface between the two split surfaces.

-
Click Shape Fillet
 .
.The Fillet Definition dialog box appears. -
Select the first split surface as the first support element (Split.3).
-
Select the multi-sections surface you just created as the second support element (Multi-sections Surface.2).
-
Enter a fillet radius of 3mm.
The orientations of the surfaces are shown by means of arrows. -
Make sure that the surface orientations are correct (arrows pointing down) then click OK to create the first fillet surface.
-
Repeat the filleting operation, clicking the icon, then selecting the second split surface as the first support element.
-
Select the previously created filleted surface as the second support element.
-
Enter a fillet radius of 3mm.
-
Make sure that the surface orientations are correct (arrows pointing up) then click OK to create the second filleted surface.
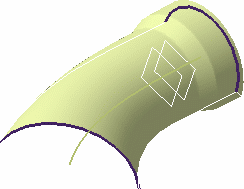
The created elements are added to the specification tree: 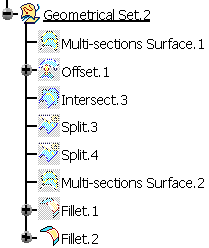
![]()