Creating a Thick Surface

This task shows you how to add material to a surface in two opposite directions.
Open the ThickSurface1.CATPart document.
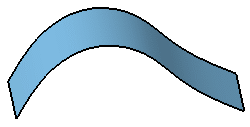
  1. Select the surface you wish to thicken, that is the extrude element.

  2. Click Thick Surface .

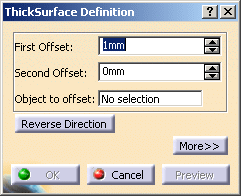
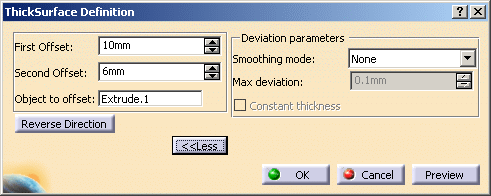
    The ThickSurface Definition dialog box is displayed.
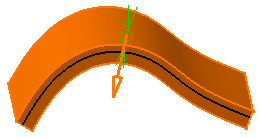
    In the geometry area, the red arrow that appears on the extrude element indicates the first offset direction. If you need to reverse the arrow, just click on it or click Reverse Direction in the dialog box.
  3. Enter 10mm as the First Offset value and 6mm as the Second Offset value.

  4. Click More>>.

  5. Select the Smoothing mode under the Deviation parameters section.

    There are three types of smoothing modes:
    • None: No smoothing is applied. This is the default option. The Max deviation field and Constant thickness option are disabled.
    • Manual: Allows you to enter a maximum deviation. The default value is 0.1 mm. The Constant thickness option is enabled to allow you to apply a constant thickness.
    • Automatic: Smoothing is applied automatically. The Max Deviation field is grayed out. However, the Constant thickness option is enabled to allow you to apply a constant thickness.
  6. Click OK.

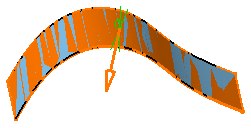
    The surface is thickened. The operation (identified as ThickSurface.x) is added to the specification tree.
    The resulting feature does not keep the color of the original surface, but is displayed in purple indicating it is a volume: