 |
This task explains creation of a seam in a stiffener. |

|
1. |
With your
document open, click the Split Stiffener button
 . The Split
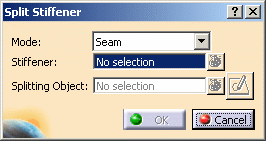
Stiffener dialog box opens. The default Mode is Seam. You are
prompted to select an object to be split. This is the plate for which you
want to create a seam on the stiffeners. . The Split
Stiffener dialog box opens. The default Mode is Seam. You are
prompted to select an object to be split. This is the plate for which you
want to create a seam on the stiffeners.
|
| |
2. |
Select a plate or a stiffener. All
of the stiffeners on the plate are highlighted, and the number of
stiffeners on the plate is displayed in the Stiffener field. You
are prompted to select a splitting object. This is the object that will be
used to create the seam. 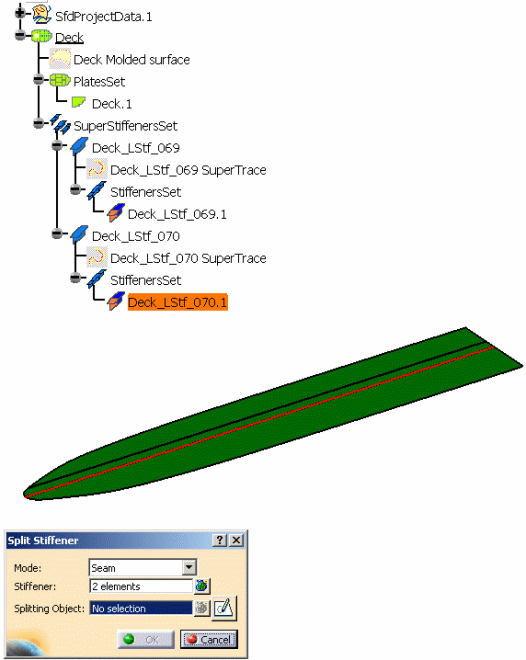
NOTE: If you select a plate that has no stiffeners,
nothing will happen. You will continue to be prompted to select an object
to be split. |
| |
3. |
You can select the elements list
icon next to the Stiffener field to display the list of the
stiffeners. But this is strictly a display list. You will not be able to
select Remove or Replace. |
| |
4. |
Select a splitting object. This
can be a plane, a curve, a surface, or a plate. The splitting object should
intersect the stiffeners, but no test is done to verify this. You can
select any number of splitting objects. In the image below, the user has
selected one plane as splitting objects.
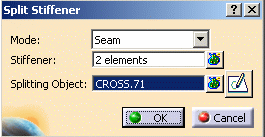
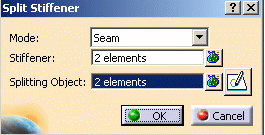
Notice that the number of splitting elements is displayed in the
Splitting Object field.
|
| |
5. |
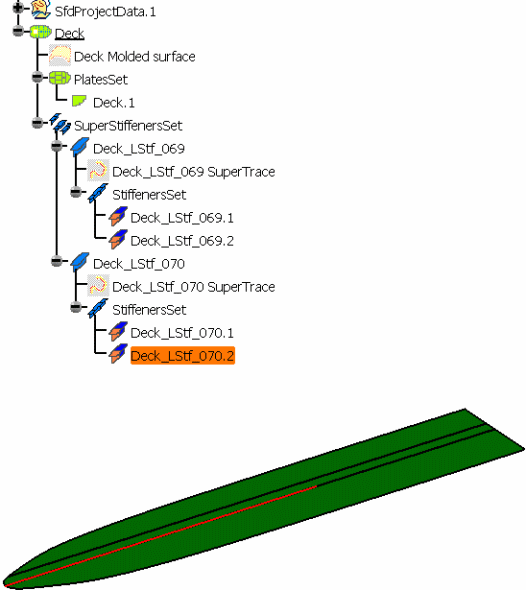
The image below shows the result
after the user clicked the OK button. Three seams were created,
and each stiffener was split into 2 pieces. For more information on this,
see
Organizing
Seams and Breaks. Note: if a splitting
object does not intersect a stiffener, the splitting object is still saved,
but no seam is created for that stiffener.
NOTE: If you want to add a seam to only some of the
stiffeners on the plate, then use the Sketcher button. Here you can draw
the sketch so that it only intersects some of the stiffeners. |
| |
6. |
The other functions that were
described in Creating a Seam on a Plate are available here:
- the Sketcher button
- the Elements List for the Splitting Objects
- selecting reference planes for the splitting objects
- selecting a plane to create a sketch (if you are creating seams on
shell stiffeners).
|


