Creating a Standard Environment

This task will show you how to create an environment. Three environment types are available: box, sphere and cylinder.

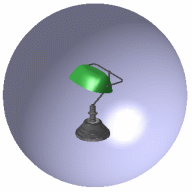
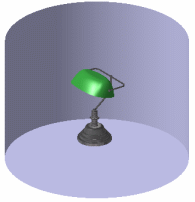
An environment is a simplified simulation of a landscape surrounding your model and directly reflected by your model. It is an efficient way to get a very quick feedback of the illumination behavior of your model and check its integration in its final environment. For example, placing neon lights as a 3D-texture on the ceiling will be used for car body design, while referring to a picture of a Norwegian forest for the walls will produce an impressive marketing image of a newly designed chainsaw.

Open the Lamp.CATProduct document.
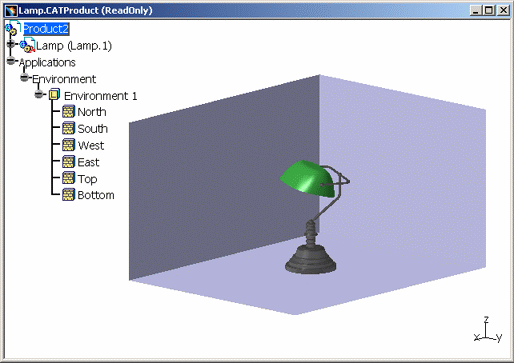
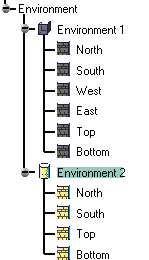
  1. Click Create Box Environment if you want to create an environment with a rectangular shape (to represent a room for example).

  2. Zoom out then click anywhere in the geometry area to deselect the environment.

    The Box environment is taken as an example in this scenario but you can also:
    • click Create Sphere Environment if you want an environment being a non-dimensional sphere with two hemispheres: top and bottom (to simulate a sky for example):
    • click Create Cylinder Environment if you want an environment having a cylindrical shape:
    Showroom environments (square or cylindrical shape) correspond to a square or cylinder room without windows, with a texture or an image on the walls, floor and ceiling. 

    This type of environment is a very efficient tool for design study of very close reflection, for instance, reflection of rows of neon lights on a car body.

    Their size can be set and they can be positioned at a desired location. 
    They are always visible and will appear as other geometrical elements of the model at their defined location.

    Sky-ground environments (spherical shape) will be used to simulate the reflections of a "real world" onto the geometry. Texture simulating grounds or skies will provide good results. They totally surround the model.

    As soon as you create an environment, it becomes the active one. Any previously created environment is deactivated in the specification tree, only one active environment being taken into account at rendering time.
    In our example, Environment 2 has been created and Environment 1 is deactivated.
    To activate an environment, right-click it in the specification tree then select Environment Active.
  3. Position your pointer over the edges then use the green segments   displayed to resize the environment walls:

    • drag a segment to resize the walls according to the edges
    • press the Shift key and drag a segment to resize the walls according to the center.
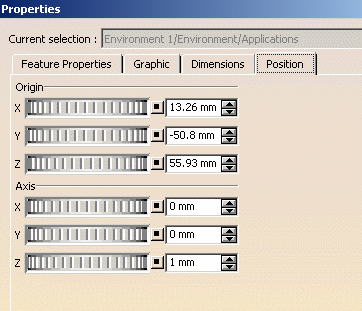
  4. Right-click the environment in the specification tree then select Properties. The Properties dialog box is displayed.

  5. Click the Dimensions tab to define the environment size. In our example, specify the Length, Width and Height of the walls in millimeters.

  6. Click the Position tab to interactively define:

    • the environment translation from the origin along the X, Y or Z axis

    • the environment translation along the X, Y, or Z Axis.

    The Feature Properties tab provides general information on the currently selected environment, e.g. its name, its creation date, etc.
You can also interactively position your environment by dragging the compass and dropping it onto the environment.