-
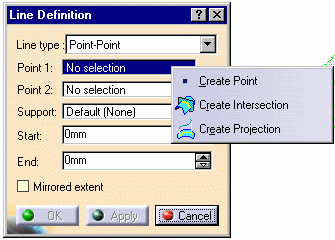
Select the type of creation from the combo list of the dialog box.
-
Go to the next Point field and choose Create Point from the contextual menu.
-
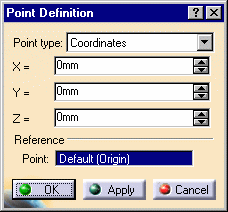
The Point Definition dialog box is displayed.
-
Click a point on the cloud. Its coordinates are displayed in the Point Definition dialog box. Click OK to confirm the creation of this point.
-
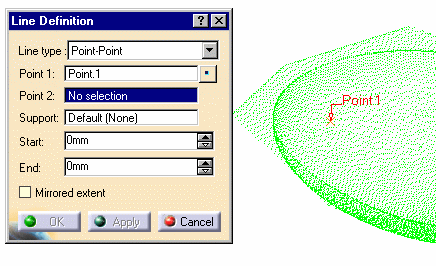
In the main dialog box, go to the next Point field and repeat the above steps as many times as necessary.
-
If necessary, click Point on the right of the Point field to modify the point you have created: the Point Definition dialog box is displayed and updated according to your pick on the cloud.
![]()