This glow not only gives an impression of greater brightness, but it can also interfere with the visibility of nearby pixels, thus improving the realism of images by adding effects which perceptually expand and enhance the perceived dynamic range.
The effect is obtained thanks to a filter applied onto the image at the end of the rendering as a post-processing.

-
Click Create Shooting
 to open the Shooting Definition dialog box then select the
Effects tab:
 -
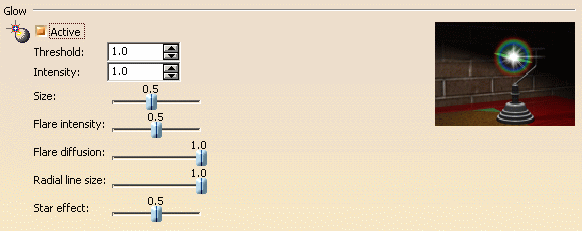
Click Active to activate the glow effect as well as the fields and sliders displayed below:
-
Use the Threshold box to define which pixel intensities are considered as high and thus, processed for glow effect.
If one of the three primary colors (Red, Green, Blue) composing the overall color of the light source is higher or equal to the defined threshold, the light intensity is considered as a high intensity.
You can enter a value comprised between 0.5 and 4 but a "good" value would be equal to or greater than 1.
You must carefully define the threshold and try not to set a too high value because the more processed pixels, the higher the price to pay in performance.
If you are not satisfied with the result, we recommend that you access the light properties in order to check (and modify, if necessary) the light intensity. -
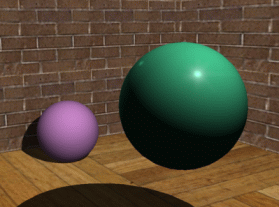
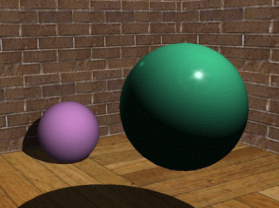
The Intensity box determines how bright the glow effect shows. The lower the value, the less saturated the image and thus, the darker the glow:
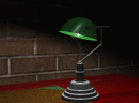
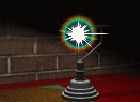
Note that this parameter has no impact on processing time. -
Use the Size slider to specify the size of the glow. This parameter directly affects the size of the filter applied onto the image.
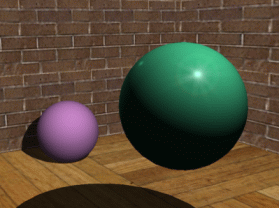
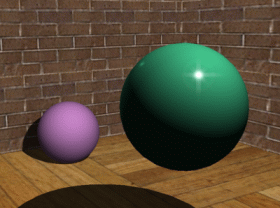
You can enter values comprised between 0 and 1. The two images below illustrate this (both with an intensity set to 1):
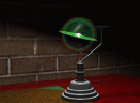
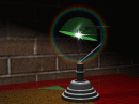
Bear in mind that a very big size can dramatically increase the processing time.
-
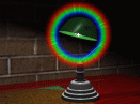
Use the Flare Intensity slider to make the flare more or less visible to create a halo type image. The flare is the colored irisation that appears in a corona around the light source.
In order to be as close to reality as possible, it is recommended to set a relatively low value since the flare is usually hardly perceptible, and sometimes invisible. 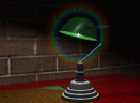
-
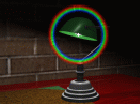
The Flare Diffusion box is used to set the width of the flare corona. The higher the value, the wider the circle bands.
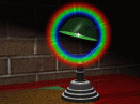
-
The Radial line size slider lets you define the size of the streaks.
Setting this parameter to 1 means that the size of the radial lines matches the size of the glow.
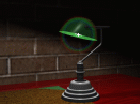
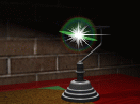
-
The Star Effect slider lets you define the length and arrangement of the streaks more or less at random.
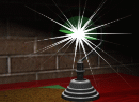
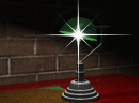
The lower the value, the more aleatory the streaks. -
Click OK to validate then render your shooting by clicking Render Shooting
 (you can also right-click the Shooting item in the specification tree
then select Render Single Frame).
(you can also right-click the Shooting item in the specification tree
then select Render Single Frame).The rendering time is totally independent from the model complexity since the post-processing depends only on the threshold you defined.
The following are samples of lens flare effects with different types of glows:
![]()
