-
Click Draft Angle
 .
.
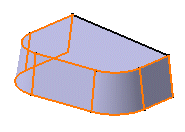
The Draft Definition dialog box appears. The application displays the default pulling direction on the part. -
Select the face as shown by the arrow as the face to be drafted.
The application detects all the faces to be drafted. The selected face is now in dark red whereas the other faces are in a lighter red.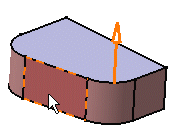
-
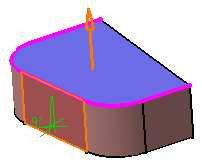
Click the Selection field of the Neutral Element frame and select the upper face.
The neutral element is now displayed in blue and the neutral curve is in pink. -
Enter 9 degrees in the Angle field.

-
Click OK. The part is drafted: