|
|
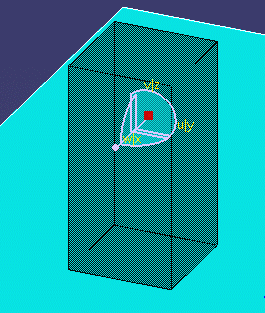
You can route
on any plane on which the compass base can be placed. But you
will not be able to route on any surface. You cannot route on the
surface of other routables. If you need to route on the surface of a
routable then you need to employ free space routing. After you place the
compass base on the plane, you can route anywhere in your window and you
will be routing on the same plane as the compass base. The illustrations
below show one type of free space routing, in which you:
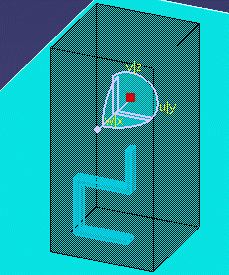
- Create a boundary and place the compass on a plane.
- Hide the boundary.
- Route a path reservation.
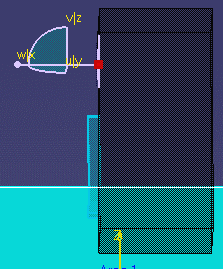
- Show the boundary again with the path reservation on the compass base
plane.
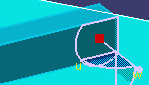
The last illustration below is a top view showing the path reservation
and compass base on the same plane.


|