This task aims at showing you how to define the material attributes for a rendering.
You can apply a material to each instance within a CATProduct. This functionality is especially relevant for rendering purposes since it lets you apply a different texture to each instance. Therefore, there will be as many materials as instances. The material preview will however display the last material applied to the instance.
For detailed information about applying a material and modifying material properties, refer to the Version 5 Real Time Rendering User`s Guide.
|
In case no
material has been applied, the rendered image will be computed using
the color and transparency defined in the basic graphic properties of
the part, starting with the the object located at the lowest level in
the specification tree. As a consequence, it is recommended to apply a material onto each part of your model in order to compute the image from the material properties and thus, generate a far more realistic image. |
-
In the specification tree, select the plus sign besides the item referred to as "body".
-
Right-click the Red Paint material then select Properties (or press Alt+Enter).
-
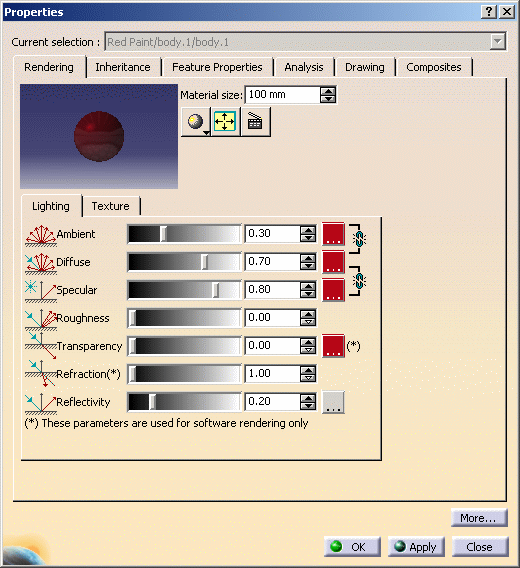
Click the Rendering tab to define the Lighting parameters:
-
Click the Texture tab to edit the material texture parameters.
You can select the Flip U, V check boxes to invert the material texture along U and V axes.
Note that when clicking the ... button to open the File Selection dialog box and choose a new texture, an additional dialog box might appear simultaneously depending on the document environments (i.e. the method to be used to access your documents) you allowed in the Document tab. This additional window lets you access your documents using an alternate method and looks something like this: 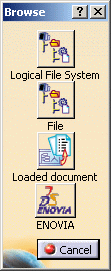
In our example, four document environments have been allowed among which the DLName environment. If you want to access your texture files using DLNames, for instance, click Logical File System: this opens a specific dialog box dedicated to the DLName environment.
For detailed information on the Browse dialog box, refer to Opening Existing Documents Using the Browse Window.For more information on this tab, refer to the Version 5 Real Time Rendering User's Guide - Modifying Material Texture Properties.
A preview is displayed in the Properties dialog box but it slightly differs from the rendered image. The following are examples of rendered images with their corresponding lighting preview: Lighting Preview Quick Render 
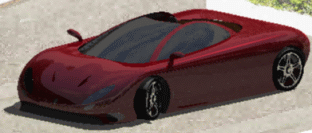
Default 
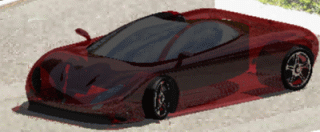
Transparency = 0.90

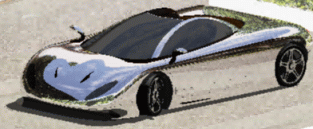
Reflectivity = 0.94 In order to get a more precise idea of the rendered material appearance, you can click the Ray Traced Preview
 button to
display a preview of the material in the Properties
dialog box. To deactivate this preview mode, click the button once
again.
 -
Click OK.
The material attributes are defined.
![]()
