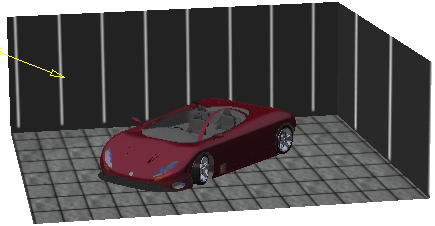
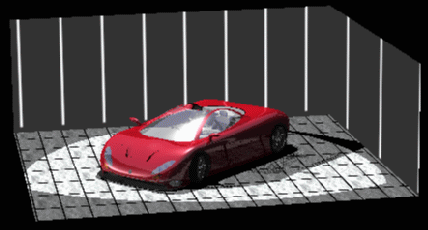
This task gives you a quick methodology to define the parameters involved in the scene creation, i.e. light sources, camera, textures and describe their spatial arrangement in a three-dimensional world.
-
Create an empty environment (either box, cylindrical or spherical).
-
Choose the point of view you want to use then click Create Camera
 .
.
-
Click Create Spot Light
 to define a conical light source then orientate the light as you wish
with the help of the light preview on the environment walls.
 -
Right-click the light in the specification tree then select Light View to make sure you have the desired illumination. This command lets you see the light point of view. Only the lit elements contained in the light preview shape will be lit at rendering time.

Set the lighting attenuation so that it does not end before the environment, otherwise the environment will be almost entirely shadowed. -
Click Quick Render
 to make a quick render from the light view. Perform as many modifications
as necessary and check that what you get is really what you want to lit.
 -
Right-click the Camera item in the specification tree then select Camera View.
You can then perform changes and make quick renders to adjust the frameset to your needs. -
Apply a texture on your environment and your part(s) by clicking Apply Material
 and check the result by creating a quick render.
Once you are satisfied, you can create a shooting to have a finer result. To do so: -
Click Create Shooting
 to define the shooting parameters.
We advise you not to modify the default shooting parameters except those concerning accuracy. When the accuracy parameters is set beneath the mid value, you obtain a result nearly as identical as the quick render. -
Right-click a material in the specification tree then select Properties to adjust the material parameters.
-
Click Render Shooting
 to check the result then go back to the material Properties to correct
the parameter definition if necessary.
 -
When the result is satisfactory, adjust the shooting parameters to refine the result such as the reflection number, the anti-aliasing, etc. in the Shooting Definition dialog box.
-
Click OK when you have finished.
The scene is defined and ready to be rendered. 
![]()