-
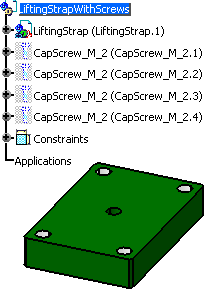
Enter the Mold Tooling Design workbench. Select the product:
-
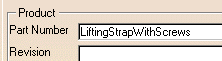
Change the Part number of the product to LiftingStrapWithScrews in the part properties sheet.
Click OK.

-
Making sure the product is still selected, use Insert > Existing component to insert file LiftingStrap.CATPart from the samples/AssembledComponents directory.
-
Click the Add CapScrew icon
 and
choose a DME M6x40 cap screw. Click the top surface of the part.
and
choose a DME M6x40 cap screw. Click the top surface of the part. -
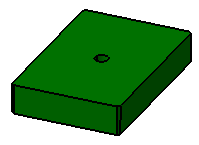
Click in each corner of the top surface (visible surface) of the part to indicate where you want to locate the screws.
Click OK.
If you hide the cap screws you will see that the holes associated with them have been created.
-
Save your data in the SaveAssembly directory with File > Save Management.
Click the Propagate directory button to save the CATParts. Click OK. Close the file with File > Close. -
Open file AssembledComponents.CATProduct from the samples/AssembledComponents directory.

-
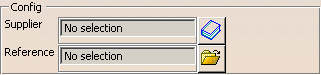
Use the folder icon beside the Reference field to fetch file LiftingStrapWithScrew.CATProduct from your SaveAssembly directory.
-
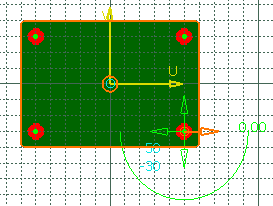
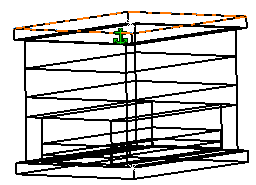
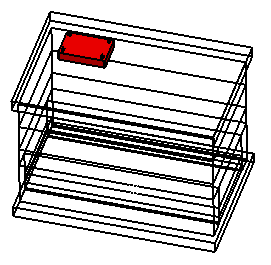
Click the top face of the clamping plate.
-
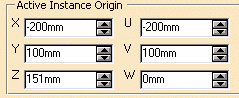
Click the top surface again to position the component.
Change the value of Z to 151.
-
Click OK. A constraint is created between the first BaseBody of the first CATPart of the user component and the mold, at its location on the mold. In this example, a new constraint is created between the BaseBody of the LiftingStrap.CATPart of LiftingStrapWithScrew.CATProduct, and the ClampingPlate.
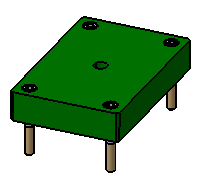
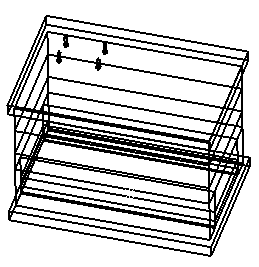
If you hide the user component you will see that the holes associated with it have also been created.
-
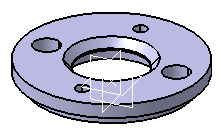
You are now going to create a locating ring with screws.
Create a new Product with File > New > Product.
Change the Part number of the product to LocatingRingWithScrews in the part properties sheet.
-
Insert a new part in the product with Insert > New Part.
-
Go to the Wireframe and Surface workbench.
-
Select the part that you have just added and click the Point icon.
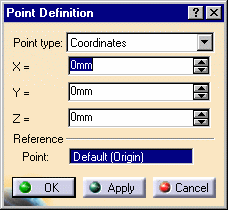
Click OK. -
Double-click LocatingRingWithScrews to come back to the Mold Tooling Design workbench.
-
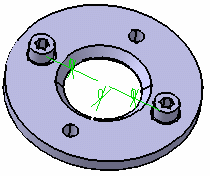
Click the Add Locating Ring icon
 and choose a DME
LocatingRing R100/R-101.
and choose a DME
LocatingRing R100/R-101. -
Expand the tree and select the point you just created.
Click OK.
-
Now add two cap screws.
Click Add CapScrew
and choose a DME M8x18 cap screw.
Click the top surface of the locating ring.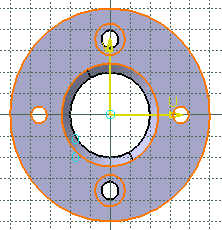
Turn the locating ring round so that you can select the axes of the existing holes for the screws. 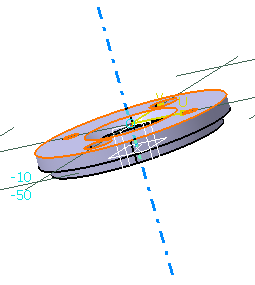
Click Reverse direction in the Cap Screw definition dialog box. Click OK.
-
Delete the part that contained the point.
-
Save your Product (File > Save Management) in your SaveAssembly directory.

![]()