-
Select the Insert>MoldBase Components >Mold Plates
command from the main menu bar or
Click directly Create a New
Mold  in the tool
bar.
in the tool
bar.
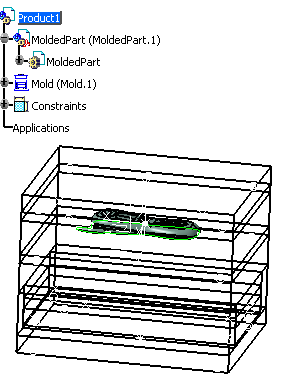
A dialog box is displayed for you to define the
parameters of the mold base to be
created:

Simultaneously, the outline of a mold base is displayed on the part.
-
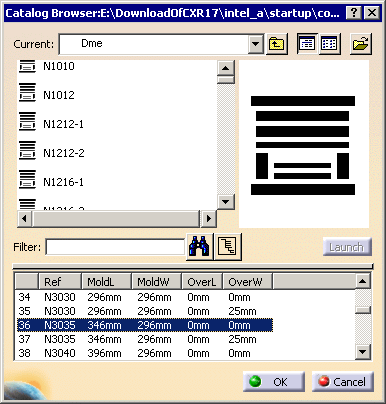
Click the catalog icon
 to open the catalog
browser.
to open the catalog
browser.
-
Double-click Dme to select the supplier.
Scroll down to line 37 and double-click the reference N3035
in the table.
-
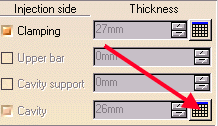
When the main dialog box is redisplayed,
click the design table icon for the Cavity.
The design table of a plate is used to define the dimensions of the
plate.
Here we want to define thickness of the CavityPlate.
-
Choose configuration 1319 in the
dialog box that is displayed.

-
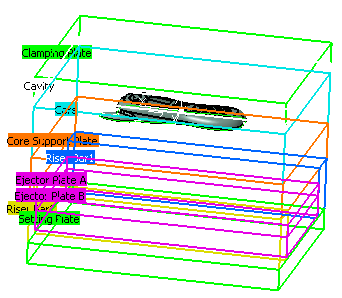
Click OK to validate your choice then repeat
this step for the Core.
The outline of the mold base is displayed with a different color for
each plate.
-
Click OK in the 'Create a new mold'
dialog box for final validation of the mold base.
The mold base is created.