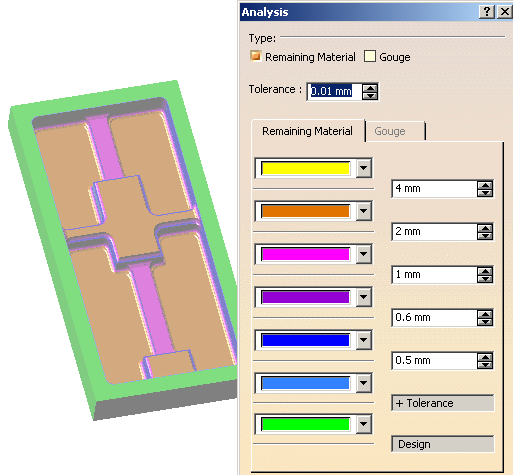
-
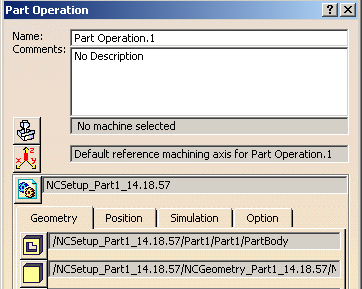
Double-click Part Operation.1 in the specification tree. Add the part and the rough stock you are using:
-
Create a second operation as explained before but with the following parameters:
- Offset on Part:0.5 mm
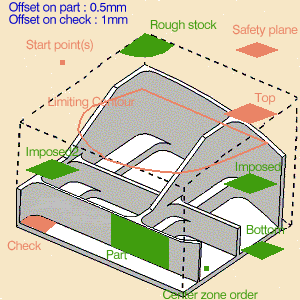
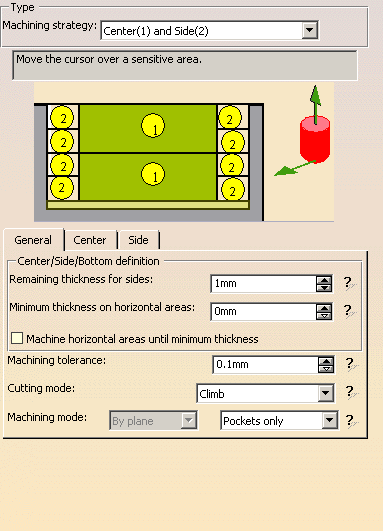
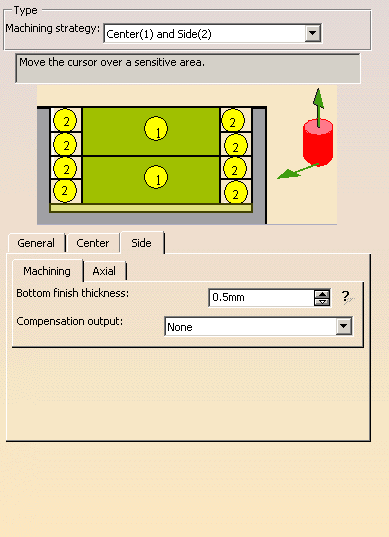
- Machining strategy: Center(1) and Side(2)
- Machining mode: Pocket only,
- Machining tolerance: 0.1 mm
- Remaining thickness for sides:1 mm
- Bottom finish thickness: 0.5 mm
The specificity of the Power Machining is the tool loading management in Back and Forth: - several contouring passes,
- no full diameter cuts with zig zag passes,
- possibility to perform the contouring passes prior or after the zig-zag passes,
- possibility to define a contouring pass ratio.
Tool path with the values we have defined:
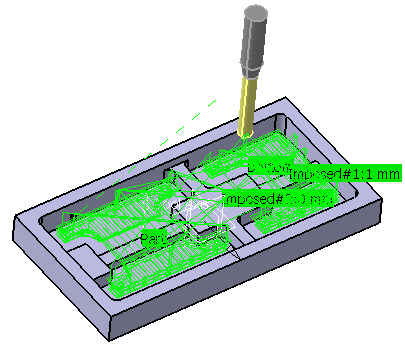
- Offset on Part:0.5 mm
-
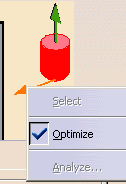
Place the cursor on the machining direction arrow and select Optimize from its contextual menu.
-
Click Tool Path Replay.
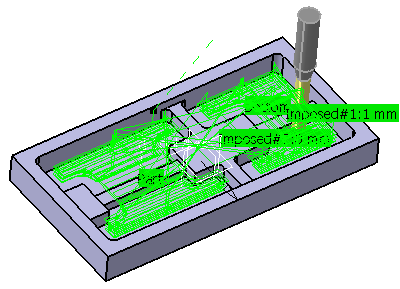
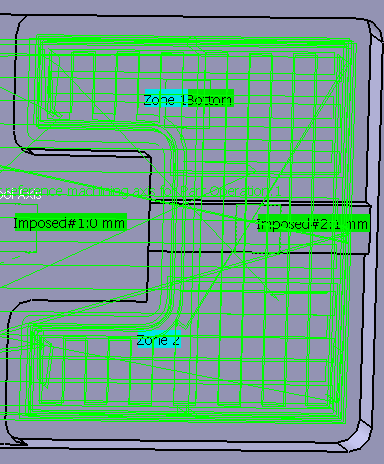
You can see that the tool path direction has been adapted to the geometry to machine,
i.e. defined by the shape of each pocket and set along the main direction (X or Y). -
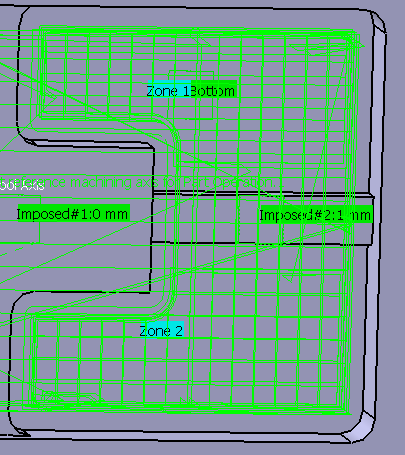
Now let's have a look at the Contouring pass ratio.
This parameter is available when the tool path style is set to Back and Forth.

It adjusts the position of the final pass for removing scallops.
This is done by entering a percentage of the tool diameter (0 to 50).
This is what you get when the Contouring pass ratio is set to 0:
This is what you get when the Contouring pass ratio is set to 20:
-
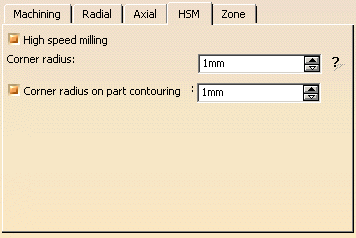
Now go to the HSM tab and make sure the High speed milling option is selected.
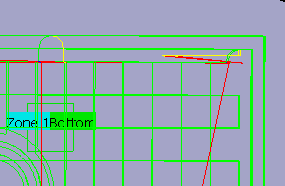
This is what you get without the High speed milling option:
This is what you get with High speed milling option:
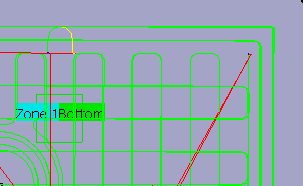
The tool path is rounded to give a smoother path that can be machined faster. -
Push the Mixed Photo/Video button to simulate the material removed by the machining operation in Video mode.
![]()