|
|
This first task shows you how to open a CATProcess document, enter the Lathe Machining workbench and setup the environment for multi-spindle machining. | |
|
|
1. | Select File > Open then select the Multi-Spindle.CATProcess document. |
| 2. | Select Machining > Lathe Machining from the Start
menu. The Lathe Machining workbench appears. The parts to be machined are displayed in the Setup Editor window.
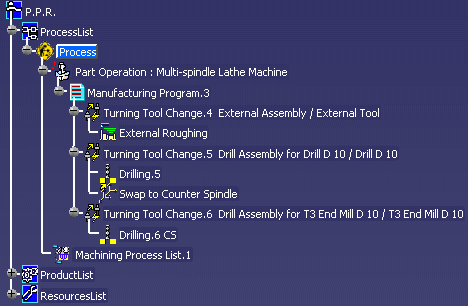
The PPR tree shows the current state of the CATProcess.
|
|
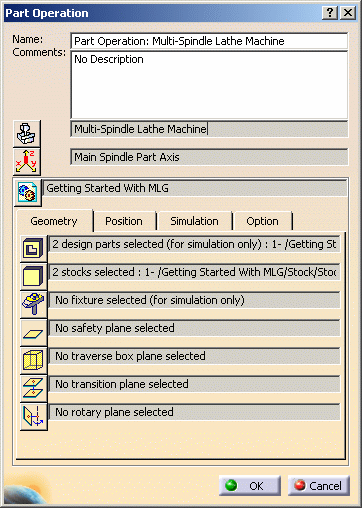
| 3. | Double click Part Operation: Multi-spindle Lathe Machine
in the tree to display the Part Operation dialog box.
Note that the following parameters are already initialized on the Part Operation:
|
|
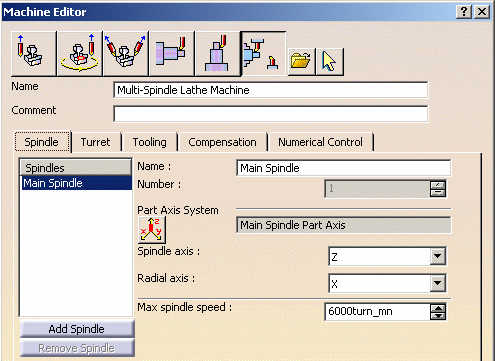
| 4. | Click Machine
|
|
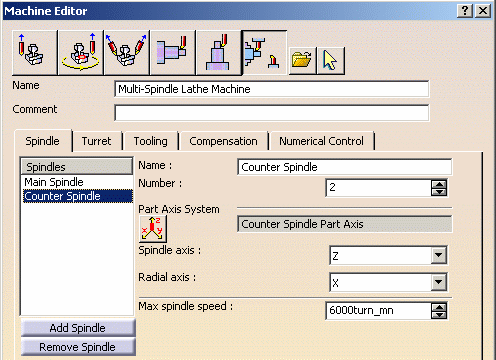
| 5. | Select the Spindle tab.
|
|
|
|
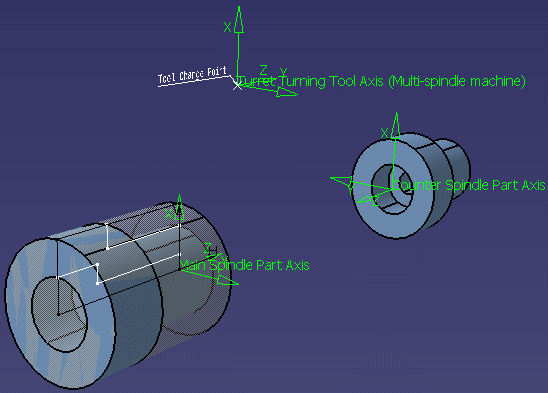
By default, the existing spindle is the Main spindle and the Reference Machining Axis System defined on the Part Operation (Main Spindle Part Axis) is assigned to the main spindle. | |
| 6. | Click Add Spindle then:
|
|
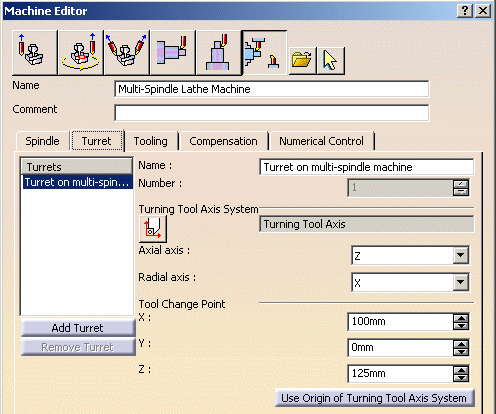
| 7. | Select the Turret tab.
Check that:
Note that the program will be defined on this turret. |
|
|
|
In the Numerical Control tab, make sure that the following sample PP
words table is referenced:PPTableSampleMChannel.pptable |
|
| 8. | Click OK to confirm your modifications to the Machine and return to the Part Operation editor. | |
| 9. | Click OK to confirm your modifications to the Part Operation. | |
|
|
||