|
|
This task shows how to check machine accessibility when defining the tool axis of a machining operation. This can be done on a generic machine with 1 or 2 rotary axis on the head. | |
|
|
1. | Open the
AccessibilityChecking.CATPart document, then select NC
Manufacturing > Surface Machining from the Start menu. |
| 2. | To assign a machine the Part Operation:
|
|
| 3. | In the Part Operation dialog box, click Machining Axis
|
|
| 4. | Click OK in the Part Operation dialog box: the machine is added to the
Resource List. The machine and the part are displayed together in the 3D
window.
|
|
| 5. | Select the Workpiece
Automatic Mount
Note that you can use the contextual menu in the 3D window to hide parts of the machine (for example, to display the machine head only). |
|
| 6. | Select the Manufacturing Program in the tree, then click
Sweeping
In the Sweeping dialog box that appears, select the
Strategy tab The Tool Axis dialog box appears. |
|
| 7. | Select the Manual mode and select the
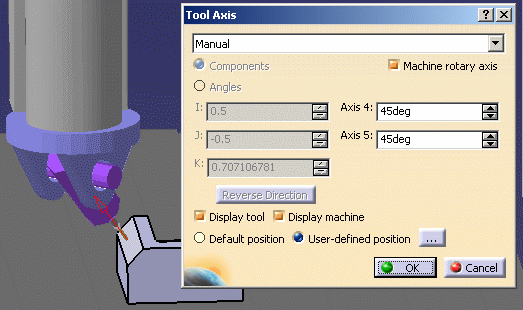
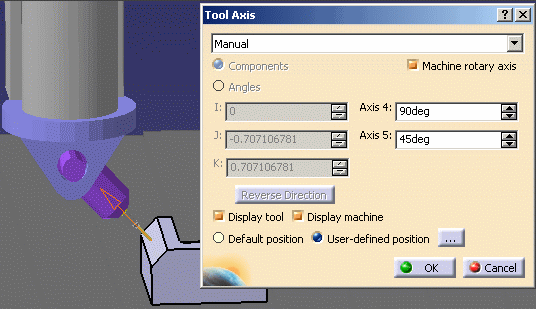
Machine rotary axis check box. Select the Display tool and Display machine check boxes. Click the User-defined position [...] button and select a position on the face to be machined. This is the position that the machine will try to reach. The machine is positioned according to the current tool axis definition.
|
|
| 8. | Enter values for the rotary axis 4 and 5 to vary the machine head position. | |
 |
||
| 9. | Continue to enter values for the rotary axis 4 and 5 to find the best
position for machining. Note that the I, J, K components of the tool axis
are updated in accordance with the entered angle values. You can check visually that the position is collision free. |
|
 |
||
| 10. | Click OK in the dialog box to return to the Sweeping
operation editor to continue definition of the machining operation. The machine head returns to its original position. |
|
|
|
||