Machining Patterns

task target This task shows you how to create a machining pattern, then use it by referencing it directly in a drilling operation. A machining pattern is a specific machining feature that represents hole positions to be machined.
scenario

Create a Machining Pattern
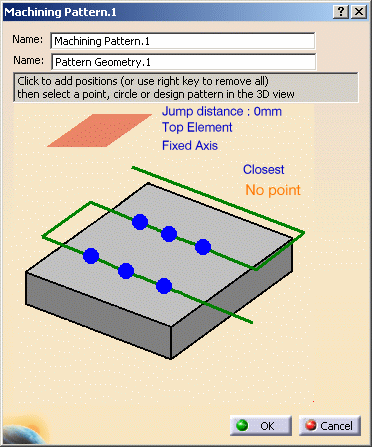
1. Select Machining Pattern . The Machining Pattern dialog box is displayed.

Click the No Point sensitive text in the dialog box. The Pattern Selection dialog box appears. It lists any available design and machining patterns. In the figure below, there are no machining patterns: Machining Pattern.1 is waiting to be created.
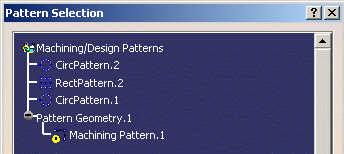
Select one of the design features and close the dialog box. The points in this design pattern will be used to create the machining pattern.

You can also select points in the 3D view to be included in the machining pattern.

It is possible to reference in a machining pattern one or more 3D Wireframe features (that is, Projection, Symmetry, Rotation and Translation operators) containing at least one point.
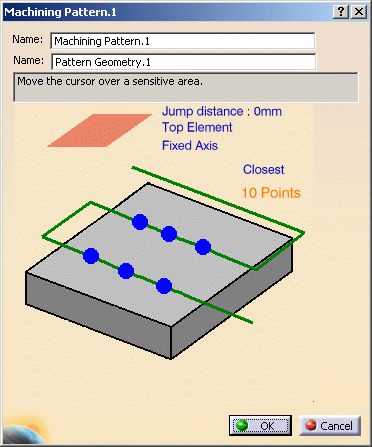
2. The Machining Pattern dialog box is updated with the number of selected points.

3. Click OK to create the machining pattern.
scenario

Use a Machining Pattern in a Machining Operation

1. Select Drilling . The Drilling dialog box appears directly at the Geometry tab page

This tab page includes a sensitive icon  to help you specify the geometry of the hole or hole pattern to be machined. 
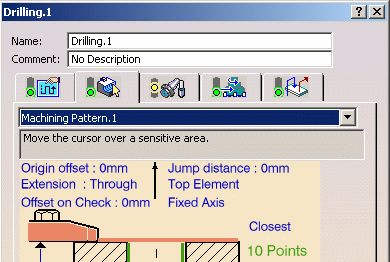
2. Select the red hole depth representation then select the machining pattern from the list.

The pattern is highlighted in the model.

3. Click OK to create the drilling operation: the holes of the machining pattern will be drilled by this operation.

end of task