![]()
This task shows you how to create a mechanism and revolute joints.
![]()
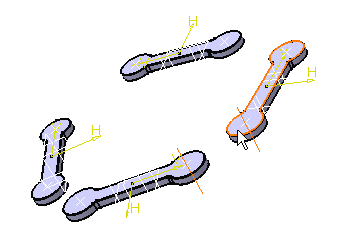
Open the rods.CATProduct document.
-
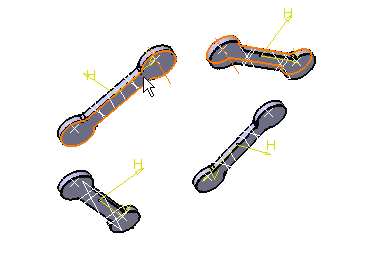
Select the product in the specification tree, then select Edit > Representations > Design Mode.
Now, expand the tree to show all the design components of the product.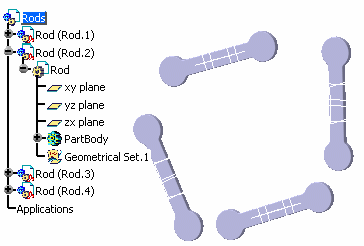
-
Click Revolute Joint
 in the Kinematics Joints toolbar.
The Joint creation : Revolute dialog box is displayed: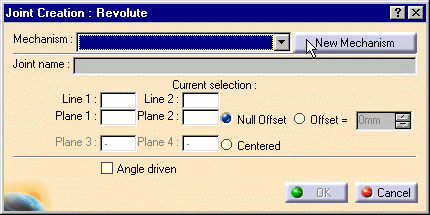
-
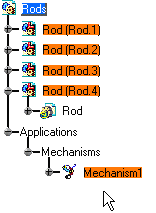
Click New Mechanism. The Mechanism Creation dialog box is displayed:
you can now enter a name of your choice. Click Ok when done.
In our example, keep the default name Mechanism.1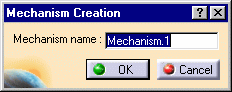
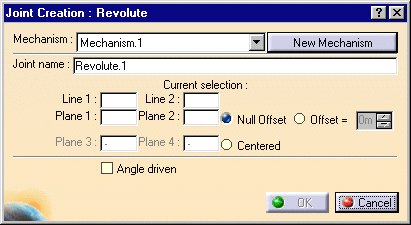
The Mechanism is identified in the specification tree.
-
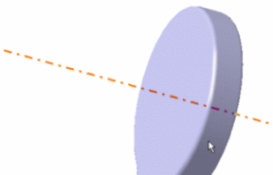
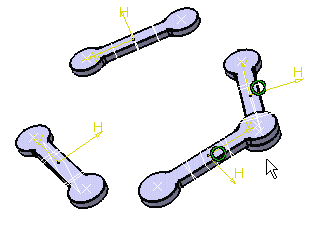
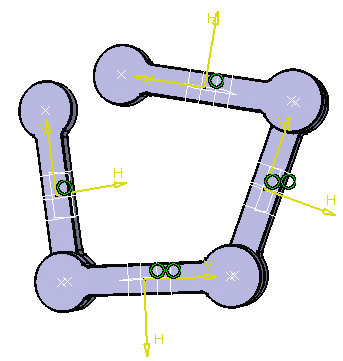
Select Line 1 in the geometry area. In our example select a cylinder as shown below.
The dialog box is automatically updated with your selection.Zoom in if necessary using the View > Zoom In Out menu and drag (left mouse button) to zoom in progressively.

-
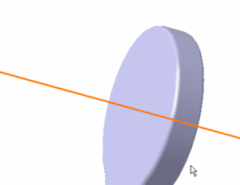
Select Line 2 in the geometry area. Select a second cylinder.
The dialog box current selection field is automatically updated.

-
Select the planes as shown below.
The Current selection field is automatically updated.
-
Click Ok to end the revolute joint creation. The revolute joint is created.
The specification tree is updated.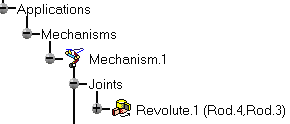
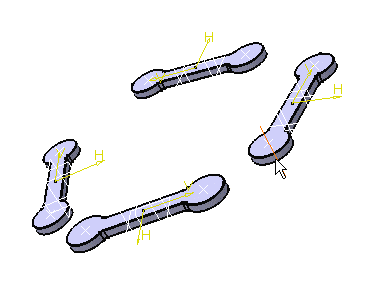
This is what you obtain:
|
|
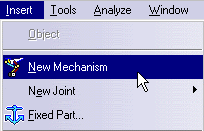
You can also create a new mechanism selecting Insert > New
Mechanism... from the Menu bar.
The new mechanism is created and identified in the specification
tree.
|
|
![]()