![]()
This task shows how to create a kinematics mechanism to use in DMU Kinematics Simulator Version 5.
![]()
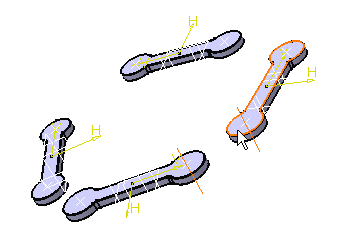
Open the rods.CATProduct document.
-
Make sure you work in Design mode (select the product in the tree, then select Edit > Representations > Design Mode). If the menu item cannot be selected, right-click product1 in the specification tree.
-
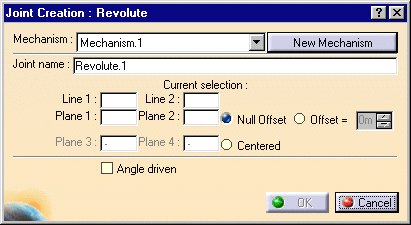
Click Revolute Joint
 in the Kinematics Joints toolbar. The Joint
Creation: Revolute dialog box is displayed.
in the Kinematics Joints toolbar. The Joint
Creation: Revolute dialog box is displayed. -
Click the New Mechanism.
The Mechanism Creation dialog box is displayed:
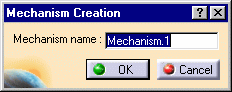
This dialog box lets you enter a meaningful name for the mechanism. Click Ok when done.

You can also create a new mechanism selecting Insert > New Mechanism... from the Menu bar.
Keep the default name Mechanism.1.
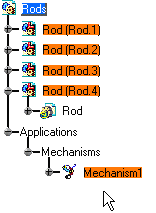
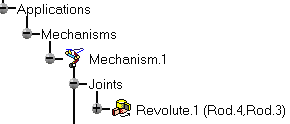
The Mechanism is identified in the specification tree.
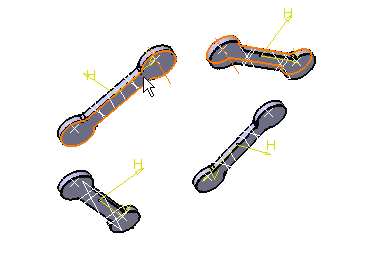
Now you need to select two lines and two planes.
-
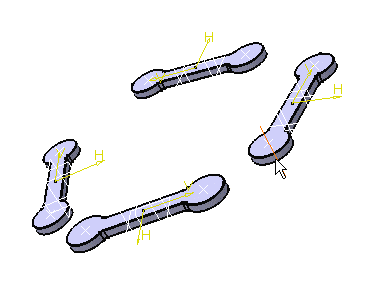
Select Line 1 in the geometry area. Select a cylinder as shown below:
The dialog box is automatically updated with your selection.

-
Select Line 2 in the geometry area. Select a second cylinder.

The dialog box current selection field is automatically updated.

-
Select the planes as shown below:
The Current selection field is automatically updated.
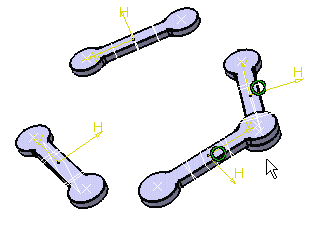
The specification tree is updated.
-
Click Ok.
-
Proceed in the same manner to create other joints
![]()
Do not forget to define a command and at least one fixed part within your mechanism.
![]()