![]()
This task consists in checking joint limits during a kinematics simulation.
![]()
Open the CHECKING_LIMITS.CATProduct document. Remember you set joint limits in the previous task
-
Click Simulation with Commands
 in the DMU Kinematics toolbar. The Kinematics Simulation
-Mechanism.1 dialog box is displayed:
If you work with V4 kinematics data, the Check Joint Limits option is available through the Kinematics simulation commands. (
 ,
, )
) -
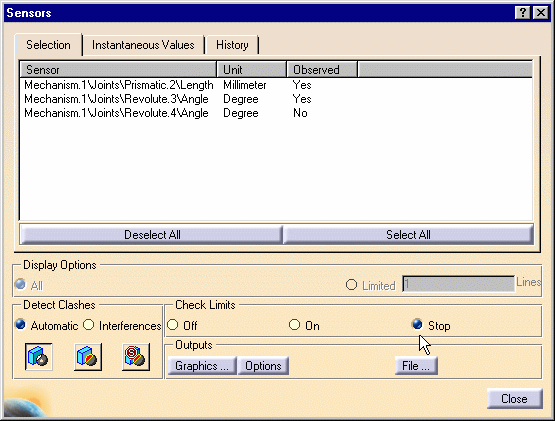
In the Sensors dialog box displayed set the check limits mode (click the appropriate option button). For instance set the stop mode
-
Select the joints to be observed: Prismatic.2 and Revolute.3 (use the Selection tab and select the joints in the sensor list).
Remember, you set limits on Prismatic.2:
-
Lower limit -10mm
-
Upper limit 10mm

Note: because a command is assigned to Revolute.3, the limits are necessarily set. The default values for angle limits are:
-
Lower limit -360deg
-
Upper limit 360deg
The clash detection is available within the Sensors dialog box.

-
-
Click the History tab
-
Manipulate the slider of the command or use the manipulators in the geometry area.
Note: in direct manipulation context (using the manipulators) the simulation is stopped each time a limit is reached.
In both cases (slider manipulation or direct manipulation), the comments column is updated each time a limit is reached.

-
Select Clear if needed.
-
Click Close to exit the command.
![]()