![]()
 |
-
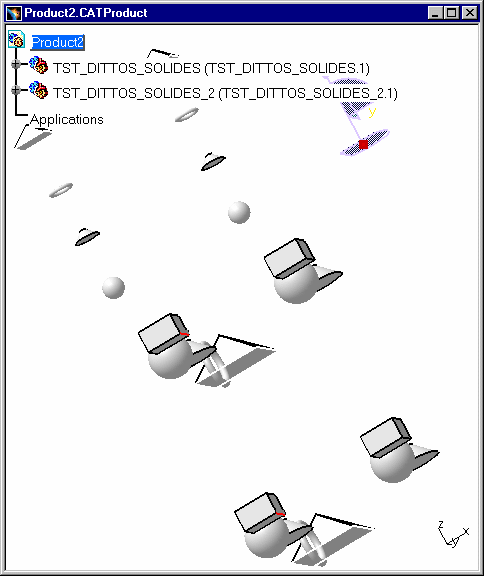
Select the Edges to be constrained, for instance: an Edge in the cube in TST_DITTOS_SOLIDES.model and another Edge in the cube in TST_DITTOS_SOLIDES_2.model.
-
Click the Offset Constraint icon
 in the Constraints toolbar. This command is also available
from the Insert menu. For more information about constraints,
refer to
Using Assembly Constraints, in CATIA - Assembly User's Guide.
in the Constraints toolbar. This command is also available
from the Insert menu. For more information about constraints,
refer to
Using Assembly Constraints, in CATIA - Assembly User's Guide. -
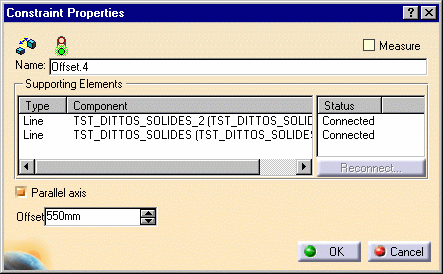
Enter the properties of the constraint in the dialog box: 550 mm, for instance, in the Offset field.
-
Click OK to create the offset constraint.
As the offset constraint is created, the cubes are moved so as to adopt its new position. A green arrow is displayed in the geometry area to indicate that this constraint has been defined. The offset value is displayed too.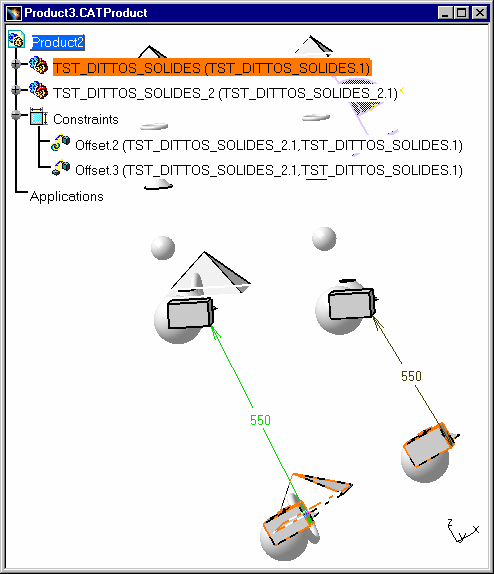
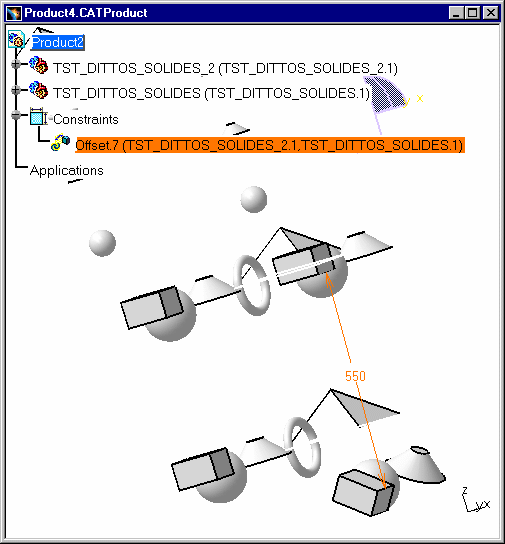
Associativity is maintained between the V4 models and the CATProduct in which the models have been inserted and constraints have been set. Therefore, if you modify the models (for instance, change the cube's position, add a fillet, etc) in CATIA V4, these modifications can be seen in the CATProduct and the constraints adapt themselves to the new parameters.
In our example, a cube's position has been modified and the constraints have not changed:
 |
Thus, you can link Solids by constraints on Edges, and can also set constraints on Edges between a model and a CATPart. Note that this functionality is also available in the Drafting workbench.
![]()