

|
|
This task shows you how to place a hanger on a connector. | |
|
|
1. | With your document open, click the
Place Hanger button
|
| 2. | If necessary, click the Open
Catalog Browser button
|
|
| 3. | You can normally see the
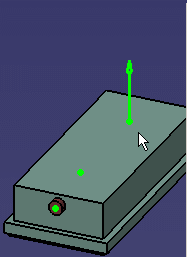
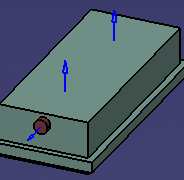
connectors on the part by moving the mouse pointer over them. If your
design is busy and the connectors are not clearly visible, then click the
Display Part Connectors
|
|
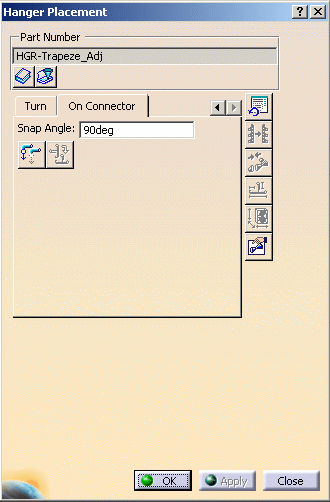
| 4. | If you need to manipulate the hanger, enter a value in the Snap Angle field to set the degree of rotation of the plane manipulator. | |
| 5. | Click on a connector. The hanger
is placed.
|
|
| 6. | The Flip Hanger button becomes available after the hanger is placed. This allows you to flip the hanger. If the hanger has other connectors, then each of these will be used in turn as you click the flip button. The connector on the part on which you are placing the hanger will remain the same. | |
![]()