Placing a Hanger on a Run

This task shows you how to place a hanger on a run.
A piping run is used in this example. The process is the same for other types of runs and hangers.

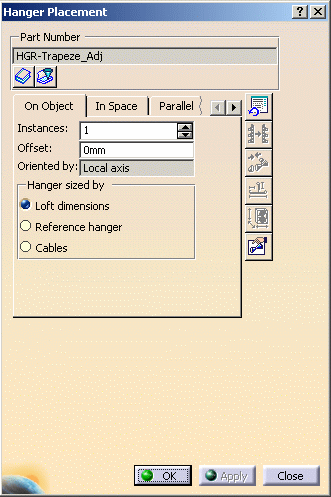
1. With your document open, click the Place Hanger button and then select the On Object tab in the Hanger Placement dialog box that displays. If the Part Number field displays a hanger, make sure it is the hanger you want to use. If it is not, then click the Reset Tab Page button to clear the field.

2. Click at the location on the run where you want to place a hanger. If the Part Number field displays a hanger, that hanger is placed.

If the field is clear, the Catalog Browser displays.

Expand the entry and select a part number. The Catalog Browser closes, your selection displays in the Part Number field of the Hanger Placement dialog box ,and the hanger is placed (it may take a few seconds).

Place more hangers by clicking again, or end the process by clicking OK.

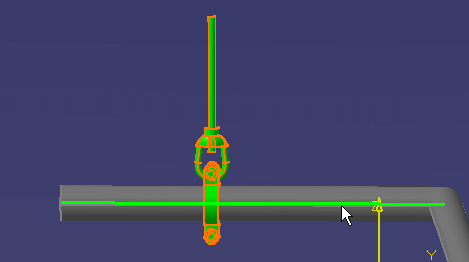
In the image below, the user is preparing to place more hangers.
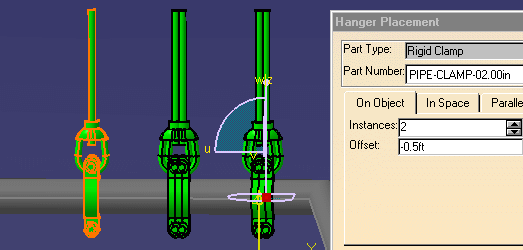
3. You can also place more hangers by clicking the Place Hanger button and selecting a hanger. Enter the number of Instances and the Offset in the Hanger Placement dialog box. You can change the direction in which the hangers will be placed by adding a negative (-) sign before the offset value.

In the image below, the user is placing the two hangers on the right.