In this task you learn to blend two surfaces, that is create one surface connecting both initial surfaces, while specifying the continuity type.
-
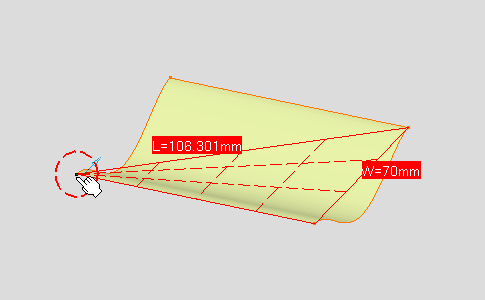
Click the 4 Points Patch icon:
 to create another surface.

-
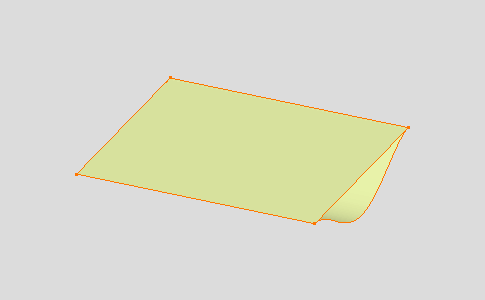
Subsequently click the four corner points of the first surface.
The second surface is created.

-
Select the new surface, right-click to display the contextual menu, and choose the Properties menu item to display the Properties dialog box.
-
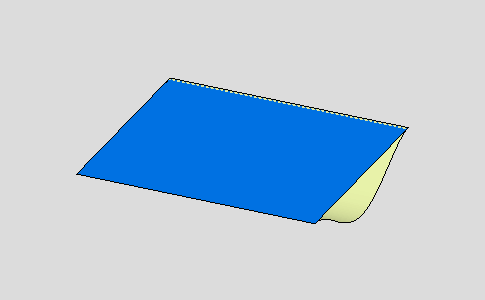
From the Graphic tab, change this surface color using the arrow in the Color chooser.
-
Click OK in this dialog box.
The newly created surface is clearly identifiable.

-
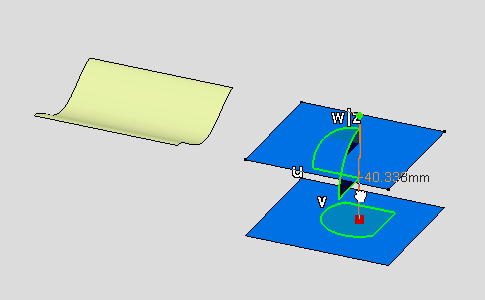
Move to the compass. When the pointer changes to a cross, press and hold while dragging the compass onto the new surface.
-
Move the pointer over the horizontal axis till it becomes red, and glide the surface away from the first one.
-
Repeat this operation with gliding the surface down along the vertical axis, then grab the compass center and bring the compass over the 3-axis system at the bottom right-corner of the document.
The compass is set back to its default position.
