-
Hide the three Curvature Analyses, using the
Show/Hide contextual menu from the specification tree.
-
Choose the Top View icon
 from the View toolbar.
| This will allow you to position the symmetry plane according to the
current plane. |
 |
-
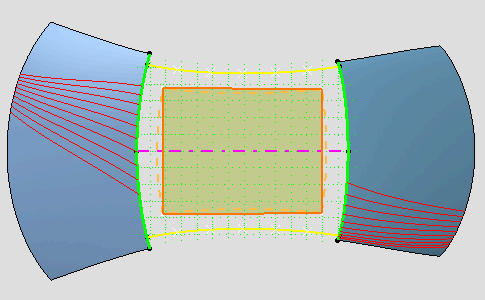
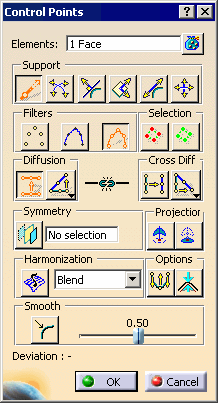
Select the surface you just created if needed and click the
Control Points icon:

| The Control Points dialog box is displayed. |
 |
-
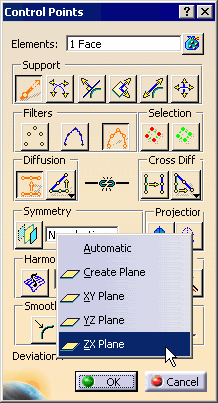
Right-click the Symmetry Plane selection field
and select the ZX Plane from the contextual menu.
-
Double-click the Symmetry
icon
 to lock the functionality.
-
Choose the following deformation options from the dialog
box:
- Support: Mesh Lines

- Diffusion Law: Convex Law

|
-
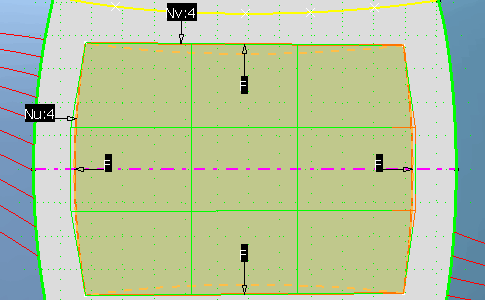
Select the top front control point, then press and hold
the Shift key then click the bottom front control point.
| The whole front mesh line is selected. |
-
Use the manipulators on one of the corner control points
to bring it closer to the orange reference curve.
| The mesh line takes the global shape of the reference curve, even though
it does not match it perfectly yet. |
 |
-
Repeat this operation with the rear mesh line and
reference curve.
-
From the Control Points dialog box, select new
options: Diffusion Law: Constant Law

-
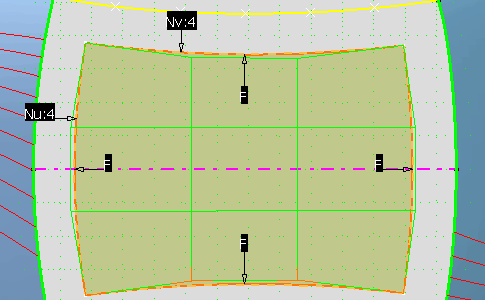
Select one of the side mesh lines and bring it closer to
the orange reference curve till the patch corner reaches the curve end
points.
| You need to iterate on the front and rear mesh lines, using the same
options to reach a satisfying level of superimposition. |
 |
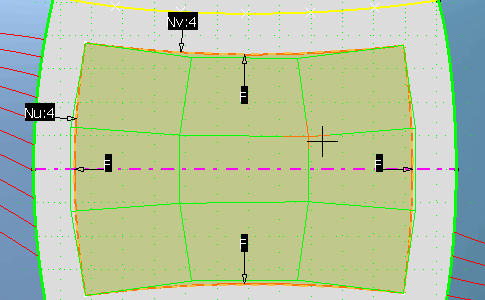
| For further tuning you need to zoom in and move single control points. |
-
Select each patch corner point and move it exactly onto
the reference corner point.
| You need to move them along both X and Y. |
-
Move each side control points to superimpose the patch
boundaries and reference curves.
| You need to move them along the Y direction only. |
 |
-
Move the inner control points 2 by 2, using the Shift
key, to move them closer to the patch center.
 |
| The patch now has the shape given by the reference curves. |
-
Click OK in the Control Points dialog box.