Creating an Immersive Sketch
using a Screenshot

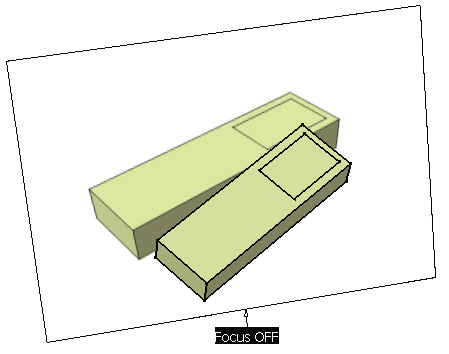
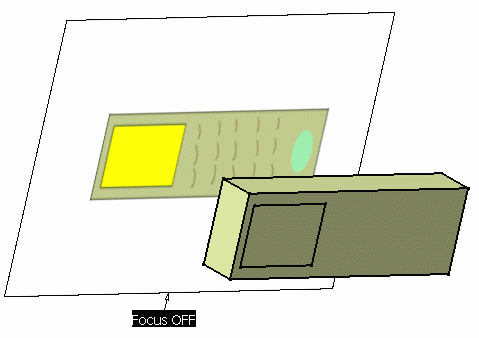
This task shows you how to refine a cylindrical or conical picture with any image editor and use the updated painting to create the corresponding geometry.

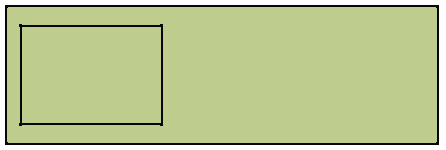
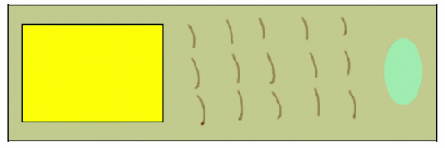
Open the ScreenShot1.CATProduct document.

 
  • Check the Material option in the View -> Render Style -> Customize View command to be able to see the analysis results on the selected element. If this option is not active, a warning is issued and you may view only a black picture.
  • You can use the conic or the parallel view: in the View -> Render Style command, select either Perspective or Parallel.
  1. From the View toolbar, click Top View .

    The sketch will be imported within this view.
  2. Click Create an Immersive sketch using screen shot .

    The Save As dialog box pops up into which you can navigate to open the sketch you wish.
  3. Here, navigate to the samples directory and save it as Photo1.tif.

    The sketch is loaded into CATIA and identified as Painting x in the specification tree under the Painting Gallery node.
    Parallel view
    Perspective
  4. From an external image editor, open the sketch to paint details on top of it.

  5. Save the modifications.

  6. Back in CATIA, update the sketch to visualize the modifications.

    Parallel view
    Perspective
    The element (identified as Painting x) is displayed in the specification tree under the Painting Gallery node.
    You are now ready to create the corresponding geometry.