-
Select Digital Mockup > DMU Fitting from the Start menu.
The Fitting Simulator workbench is displayed. -
Select File > Open.
The File Selection dialog box displays: 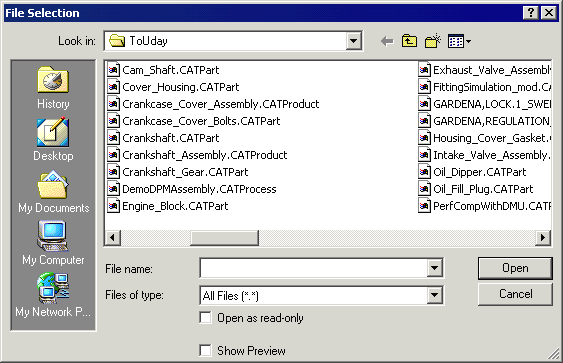
-
Select the CHAINSAW.CATProduct from the samples folder.
-
Click the Open button to open the selected files.
The specification tree is displayed showing all the selected products. In our example, the CHAINSAW.CATProduct has been divided in four main groups of objects. 
Note that you can also select model files using Insert > Existing Component. In this case, choose the desired model files by selecting the first one, then holding down Shift + LMB until you have selected the last one you want.
Click Fit All In  to position the model geometry on the screen.
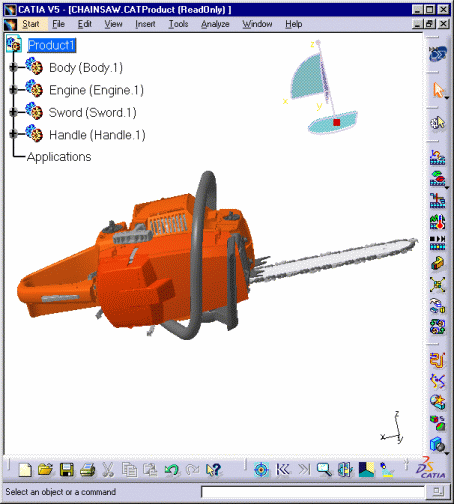
Selecting View > Specifications in the menu bar (i.e., the default is to have the option checked or turned on; selecting the option turns off or unchecks the option) removes the specification tree from view. You can then use the entire screen for the product. You can also use the F3 key to toggle between seeing or not seeing the specification tree more quickly.