-
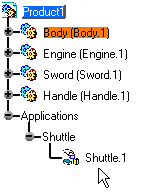
In the specification tree, select Shuttle.1. In the specification tree, click Shuttle.1.
-
Select Insert > Simulation.
The Edit Simulation dialog box and Preview window appear. The starting shot (shuttle initial position) is automatically recorded. -
Move the shuttle to the desired location with the manipulator.
-
Select the Insert button and record the desired shots.
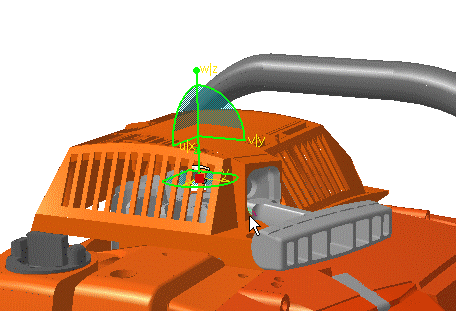
You need to move the starthandle, for this: create a shuttle without exiting the simulation command. -
Click Shuttle
 .
. -
Select DEMO_CGE_CHAINSAW_BODY_STARTHANDLE.1 either in the geometry area or in the specification tree (expand the Body item).
-
Click OK to confirm the shuttle creation.
-
Select the Edit simulation objects button in the Edit Simulation dialog box.
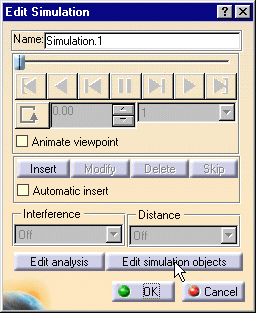
The Edit Simulation Objects dialog box is displayed. 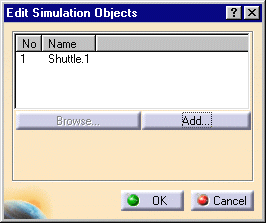
-
Select Add and select shuttle.2 in the Select dialog box, and click OK.
-
Click OK in the Select dialog box.
-
Click OK in the Edit Simulation Objects dialog box to confirm your operation.
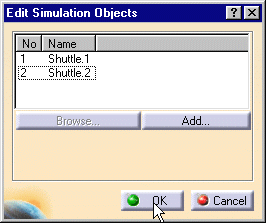
The shuttle.2 is identified in the specification tree. 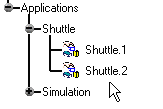
-
Move the shuttle.2 to the desired location with the manipulator.
-
Click the Insert button and record the desired shots.
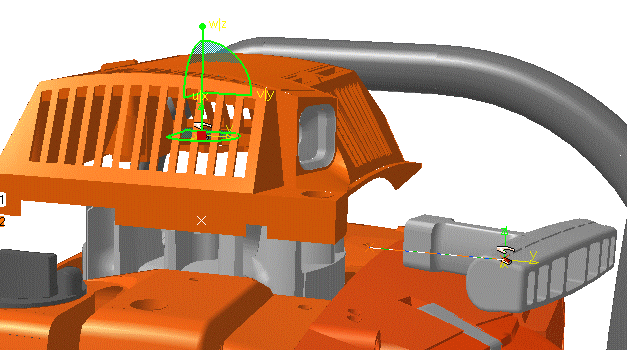
You can dismount the startinghouse.