-
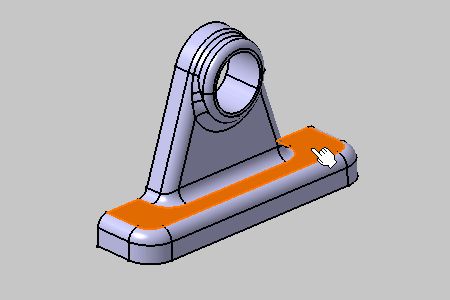
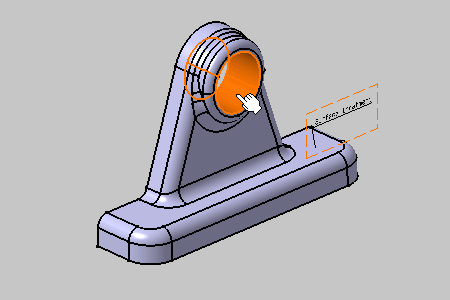
Click the face as shown to define the surface and the location for the arrow head of the leader line.
-
Click Text with Leader
 in the Annotations
toolbar.
in the Annotations
toolbar.
The Text Editor dialog box is now displayed.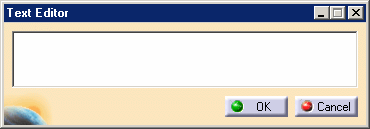

-
Enter Surface treatment in the dialog box.
-
Click OK to end the text creation.
The text is displayed in the 3D space in an annotation plane.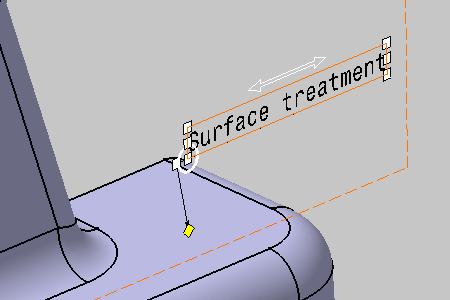
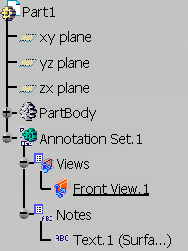
The textual annotation identified as Text.1 is added to the specification tree.
Note also that the application creates a Front View as shown in the tree. This view is automatically created when any view has been created yet or any existing view cannot be re-used.
Any front view created corresponds to an annotation plane (called "Front view annotation plane" too in the workbench).
If no annotation plane still exists, one is created by default when specifying the first annotation.
-
To create another text annotation, select the inner cylindrical face:
-
Click Text with Leader
in the Annotations toolbar.
-
Enter "Surface 2" in the dialog box and click OK.
You have created a second textual annotation in the same front view.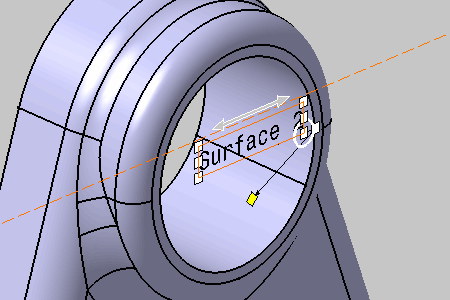
- For more about textual annotations, refer to Specifying textual annotations.