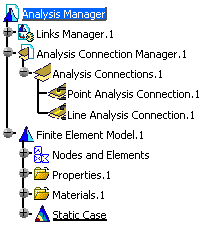
This task shows you how to apply a material to an analysis connection with no geometrical support.
Only available with the Generative Assembly Structural Analysis (GAS) product.
Open the sample48_1.CATAnalysis document from the sample directory.

-
Click Material on Analysis Connection
 .
.The Library dialog box appears.
For more details about the Library dialog box, refer to the Real Time Rendering User's Guide. -
Choose the desired material in the Library dialog box.
In this particular example, select Aluminium in the Metal tab.
-
Select the analysis connection on which you want to apply a material.
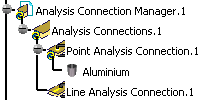
In this particular example, select Point Analysis Connection.1 in the specification tree.
-
Click OK in the Library dialog box.
A material appears in the specification tree under the selected analysis connection.

You can modify the physical properties of the material you
just applied.
To do this:
-
Double-click the material you just applied.

You can also right-click the material object and select the Properties contextual menu.
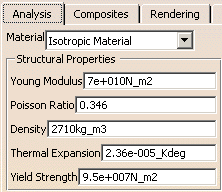
The Properties dialog box appears. This dialog box lets you modify the physical properties of the user material using the Analysis tab.
For more details about the Analysis tab of the Properties dialog box, refer to Modifying Material Physical Properties. -
Select the Analysis tab in the Properties dialog box.
By default, the Analysis tab appears as shown below:

-
Modify the parameters if needed.
-
Click OK in the Properties dialog box.
![]()