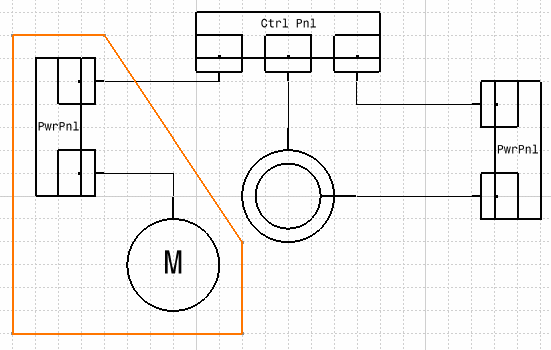
That pentagon can be designated a boundary and made part of a zone.

-
Use one of the Sketcher functions to enclose the objects that you want to include in the boundary.

The objects must be fully enclosed within the boundary.
You will not be able to create the boundary if there is a gap in it.For more information about sketching profiles, refer to the Sketcher User's Guide. -
Click the Define Zone Boundaries button
 .
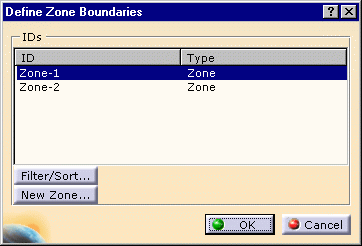
.The Define Zone Boundaries dialog box will display, listing the available zones. 
-
Use the Filter/Sort button if you want to filter the available zones.
If you want to create a new zone click the New Zone button. -
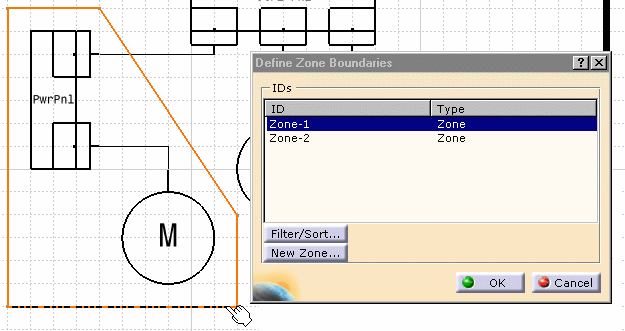
Select the zone under which you want your boundary and then select each line that constitutes the boundary. In the illustration below you would select all five lines that make up the pentagon.
The lines will change color as you select them.

You can select any line to begin with.
But after that each line you select must be connected to an already selected line.
In the illustration above you cannot select the lower horizontal line and then the upper horizontal line.
If you select a horizontal line you must select one of the vertical lines after that. -
Click OK.
The boundary will become a part of the zone.