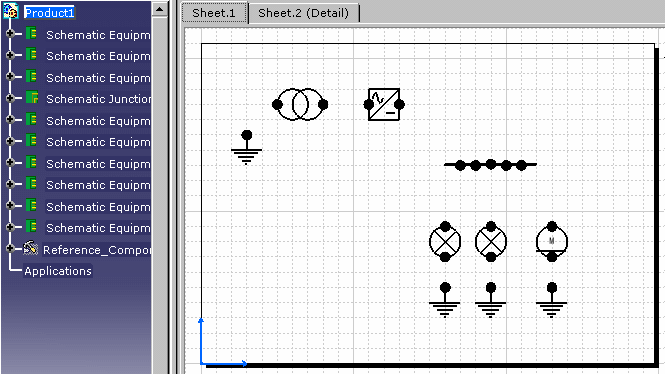
Open a document containing schematic components.
-
Click the Route Cable
 button.
The Catalog Browser displays: 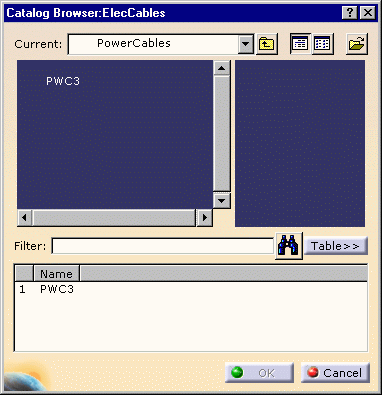
If necessary, navigate to select the catalog of interest using the Browse another catalog button  .
. -
Double-click to select the cable reference you want to route.
The Route Cable dialog box opens: 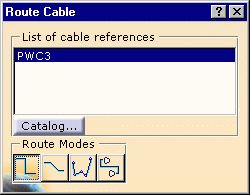
You can choose between different route modes: - Horizontal/Vertical: you can only route in horizontal or vertical segments.
- Horizontal/Vertical/45 degrees: you can route in segments that are horizontal, vertical or at a 45-degree angle.
- Point-to-point: you can route in any direction.
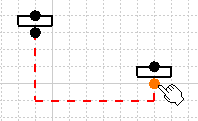
- Single step: you indicate (by clicking) the
beginning and end of a line. A line between the two points will
be drawn in horizontal and vertical segments. The line will
follow standard routing conventions, i.e. it will not intersect
the components you are routing to and from, and it will adopt the
most efficient route between two points. The image below shows a
line being made between two components.
The Catalog... button lets you access again to the Catalog Browser. -
Select one of the route modes.
-
Begin routing: click a compatible connector (wide pin) or in free space.
-
To end routing, click a component wide pin or double-click in free space.
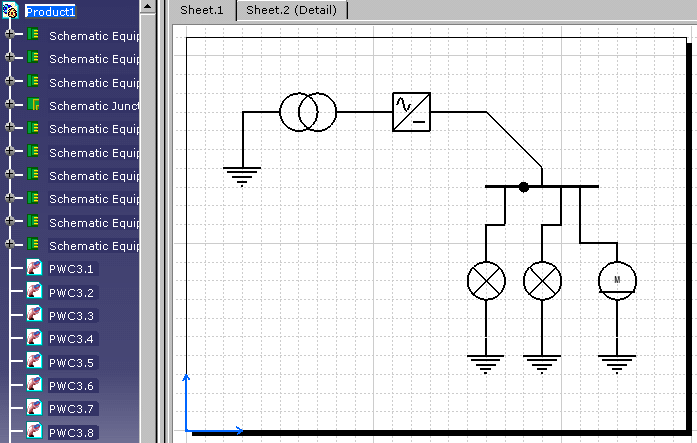
-
You can then modify the cable route.
