![]()
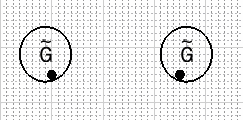
In order to complete this procedure you must have created a wiring diagram as described in Creating a Wire Level View of a Cable Diagram.
![]()
-
Open a document containing a wire level view of a cable diagram:

-
In your wire level view document, select the cable in the specifications tree associated with the wire that you want to route.
-
Click the Route Wire
 button.
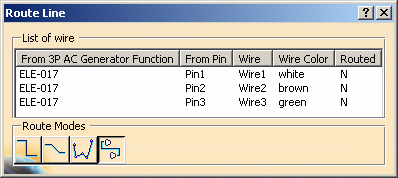
The Route Line dialog box displays:

-
Select the route mode you want to use:
- Horizontal/Vertical
 : You can only
route in horizontal or vertical segments.
 - Horizontal/Vertical/45 degrees
 : You can route in
segments that are horizontal, vertical or at a 45-degree angle.
 - Point-to-point
 :
You can route in any direction.
 - Single step
 :
The wire is routed automatically.
- Horizontal/Vertical
-
Select the wire you want to route from the list of wires.
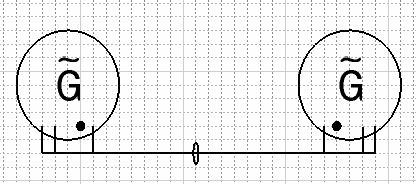
Depending upon which route mode you are using, the wire is routed in one step or you are prompted to select the start and end points of your route. The following diagram shows all three wires routed:

The ellipse represents the cable containing the three wires.