![]()
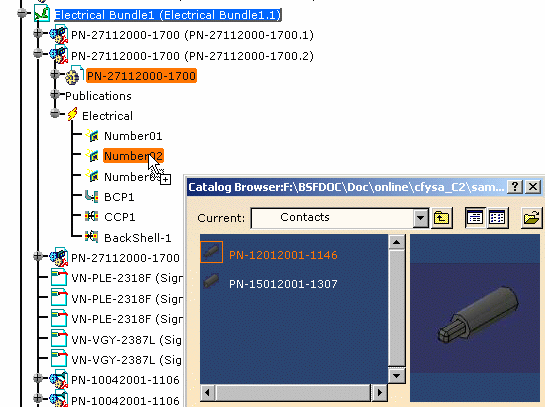
- If you drag and drop a contact onto a connector, the contact will be automatically placed on all cavities where wires are routed.
- If you drag and drop a filler plug onto a connector, the filler plug will be automatically placed on all cavities where no wires are routed.
It contains three connectors with several cavities, three signals routed through five wires into bundle segments.
![]()
-
Double-click to activate Electrical Bundle.1.
-
Click the Catalog Browser icon
 to open the CatalogForNewFeatures.catalog.
The dialog box opens: 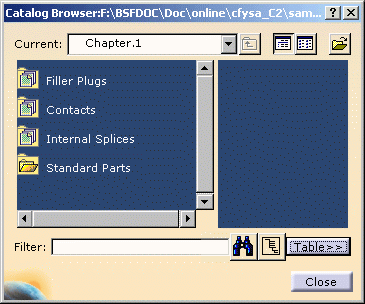
If necessary, use the Open icon  to browse another catalog and select the
CatalogForNewFeatures.catalog from the samples folder. It is
located in: .../online/cfysm_C2/samples/ElectricalSession/
To know more about the Catalog workbench, refer to Using Catalogs. -
Double-click the Filler Plugs: the folder contents are displayed.
-
Drag and drop the Filler Plug onto a connector in the specification tree.
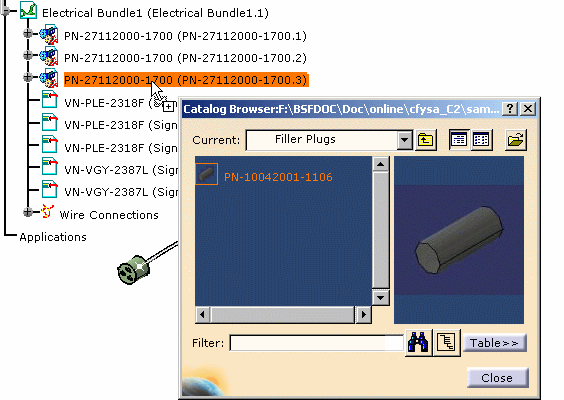
This sample connector has: - One cavity receiving a wire extremity
- Two empty cavities (with no wire extremity): they will be automatically filled in with the selected filler plug.
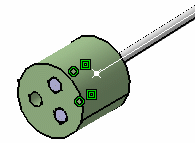

To see the filler plugs in the cavities, you may need to update the geometry. The filler plugs are added to the specification tree. 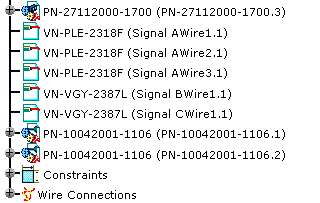
-
Repeat the steps 3 and 4 for the contacts.
The contact is added to the connector in both the geometry and the specification tree. 
-
If you want to place a different contact (or filler plug) in a cavity of the connector, place it first into the correct cavity then place automatically the other ones.
-
Close the Catalog Browser when done.
For more information, refer to Using Assembly Constraints.