-
Click Route Definition.
It enables you to select the objects the will be used to route the bundle segments. Points, connectors, back shells and supports can be selected.
The Route Definition dialog box opens: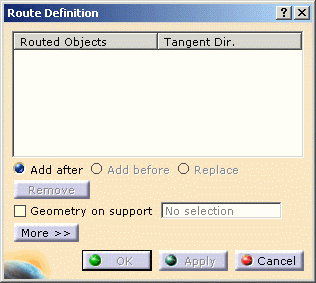
-
Click successively in the geometry area:

CATIA finds the closest construction point according to the selection point. - Connector A1:
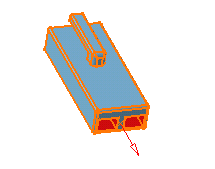
Note that you can reverse the tangent by clicking the red arrow. - The point previously created to define the bundle segment route: Point1
- Connector A2: the tangent is automatically created.
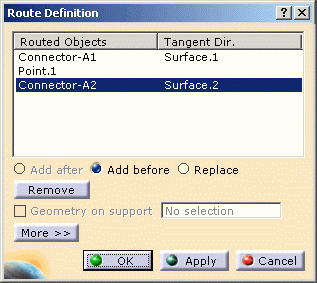
The Flexible Curve is edited: 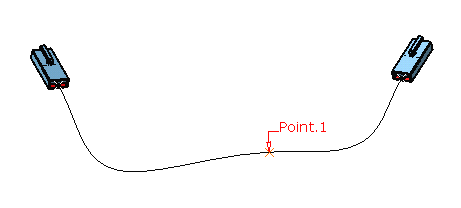
- Connector A1:
-
Click OK to validate.
The Route Definition dialog box closes and the Branch Definition dialog box is displayed afresh. 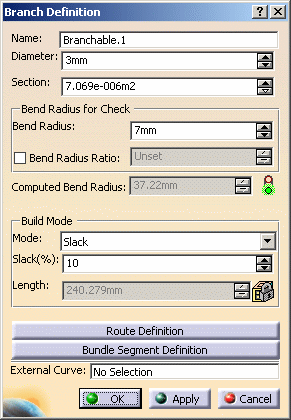
Note that OK and Apply are now activated. -
Click OK to validate the branch and bundle segment definition.
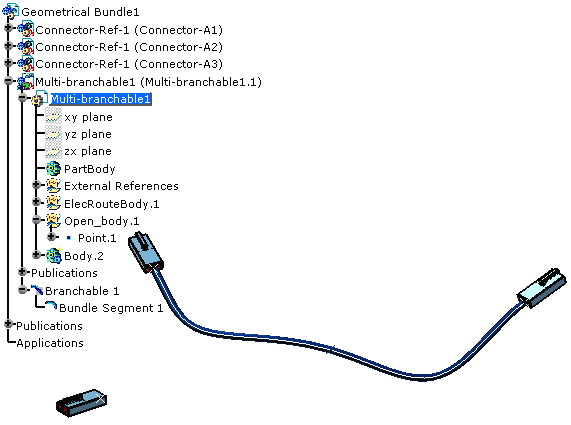
The result looks like this: