|
|
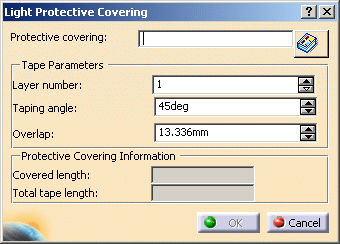
This task shows how to add light protective coverings defined using either the Define Protection Product or the Define Protection Part commands in the Electrical Library workbenches and stored in a catalog. | ||||||||||||||||||||||||||||||||||
|
|
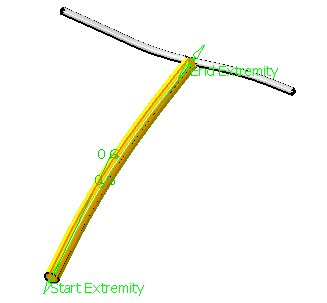
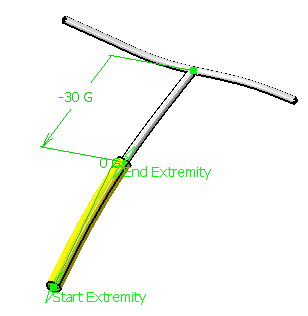
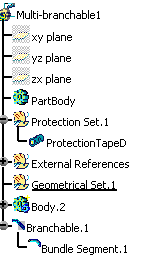
Light Protective Covering is a feature of a multi-branchable document, and it covers bundle segments in one branch only. | ||||||||||||||||||||||||||||||||||
|
|
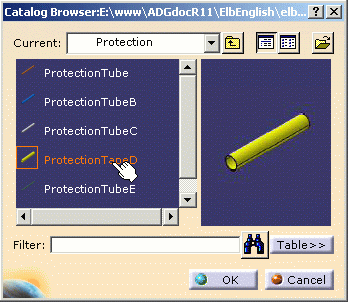
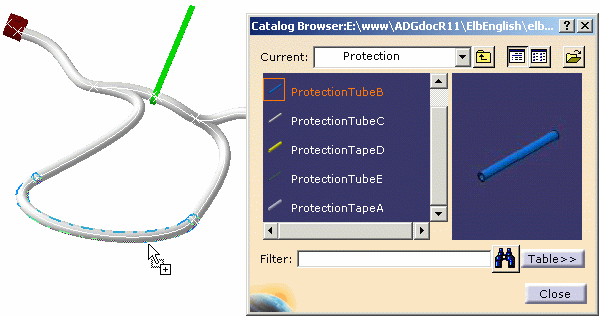
The Browse window is integrated to the Light Protective Covering command through the Light Protective Covering dialog box. It lets you select catalogs stored in database when working in ENOVIA context. |
||||||||||||||||||||||||||||||||||
|
|
Open any document containing at least a geometrical bundle. |
||||||||||||||||||||||||||||||||||
|
|
|
||||||||||||||||||||||||||||||||||
|
|
Light Protective Coverings integrate the collapsed geometry behavior (as applicable for external protections). |
||||||||||||||||||||||||||||||||||
![]()