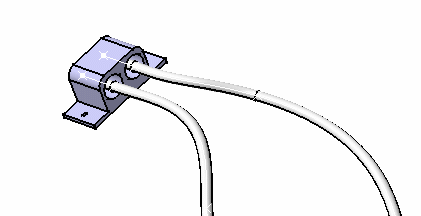
This command also works on multi-supports and retainers.
This example uses a support, but it works exactly the same with a retainer.
![]()
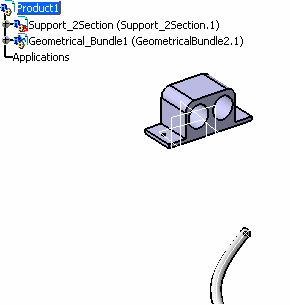
Open the InSupport2.CATProduct document.
-
You are prompted to select the bundle segment you want to drive into the support. 
CATIA finds the closest bundle segment construction point according to the selection point. -
Select the bundle segment close to the location of interest.
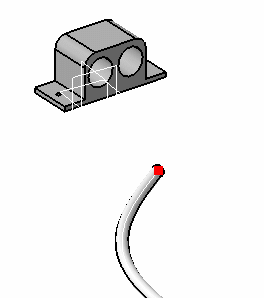
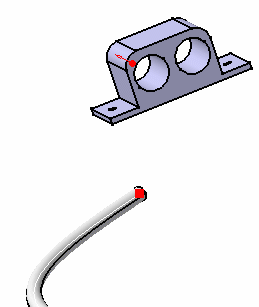
The extremity or construction point is highlighted: 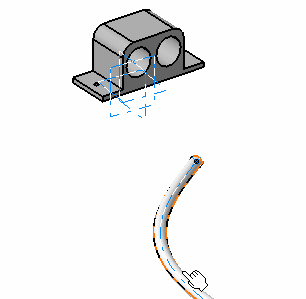
>> 
You are prompted to select the support. -
Select the support.
The support is highlighted indicating that the selection is allowed.
Annotations are displayed showing the entry points of the support.You can either:
- select the support
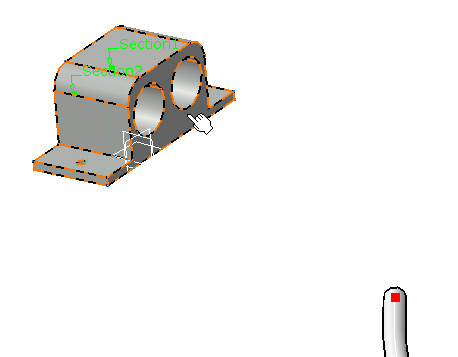
- select a label
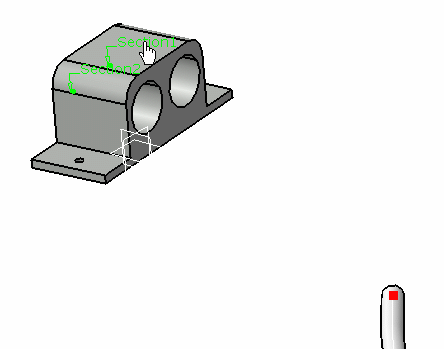
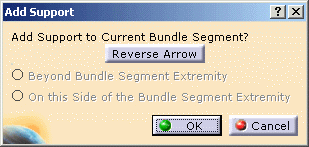
The Add Support dialog box opens:
If the selected point is not an extremity, the bundle segment will go through the support between this point and the next one.
The options are therefore unavailable as in this example.You can change the bundle segment direction through the support by reversing the arrow.
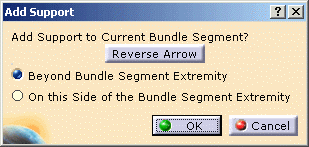
If an extremity is selected, you can choose where you want to place the support along the bundle segment route: - beyond the selected extremity,
- on this side of the selected extremity.
Note: In case of a multi-support, if you select the support instead of a label, the section selected is the closest to the selection point on the support: 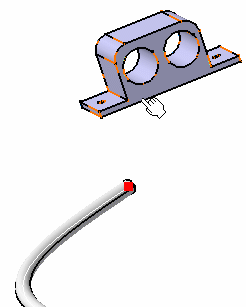 >>
>>
- select the support
-
Change the option if needed.
-
Click to invert the arrow in the geometry or in the dialog box, if needed.
-
Click OK validate your choice.
The bundle segment route is recomputed.
The result looks like this if you select the label of Section1:
- The bundle segment slack is ignored on the route though a support.
