Make sure you have set up the automatic compass option.
![]()
-
Click Smart Place
 .
.The Catalog Browser displays. 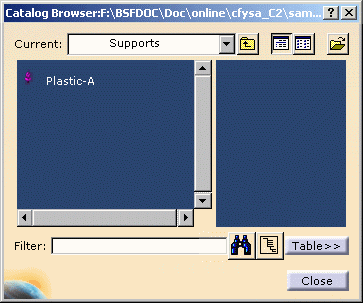
If necessary, navigate to select the catalog of interest using Browse another catalog  .
. -
Select the part you want to place.
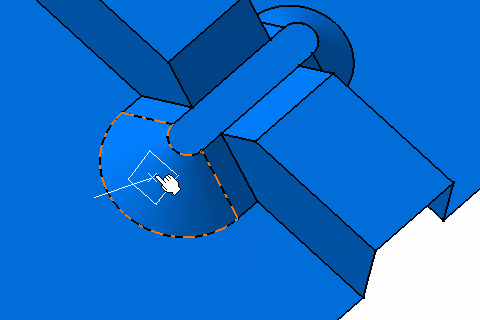
In the geometry area, a manipulator displays allowing you to select: - The placement point
- The privileged plane
- The direction. By pressing the Shift key, you can invert the direction.
-
Point to the chosen position and click to place the support.
The support is placed on the plane selected, with a compass automatically snapped to the part. 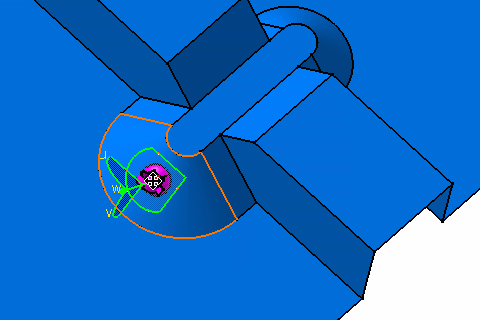
-
Use this compass to orientate the support.
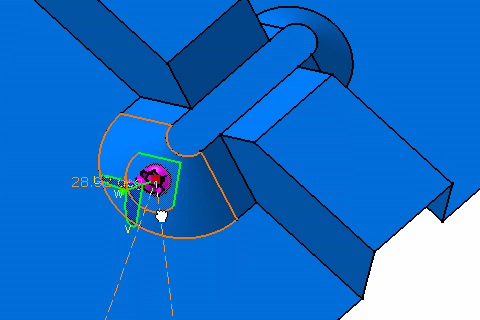
You can also select an edge in the geometry area:
A green arrow appears showing the orientation. By pressing the Shift key, you can invert the arrow direction.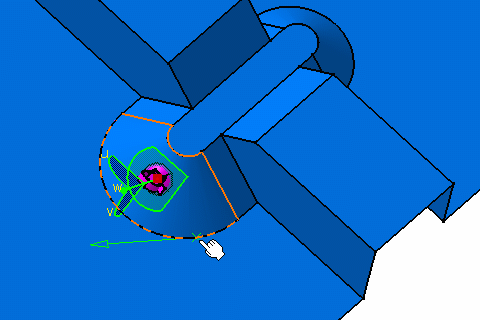
Click to select the chosen orientation.
The support is orientated according to the edge you have selected: the rotation applied to the object aligns the compass V axis to the manipulator's green arrow.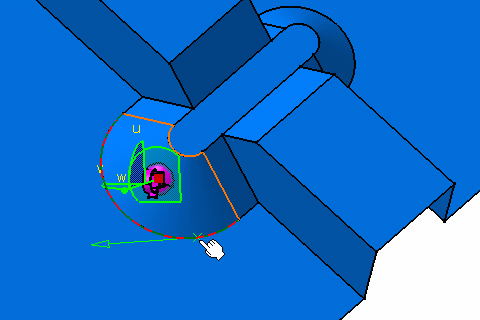
-
Point to the next position if you want to place the support again.
Otherwise, click a different part from the catalog and repeat these steps. -
Click Close when you are done.
- The part is stored in the catalog with:
- An origin point
- An x, y and z direction.
- The origin of the part (the support in this example) is placed at the point selected with the compass.
- The x, y plane of the part is parallel to the plane selected using the compass.
- The z direction of the part is collinear to the z direction selected using the compass.