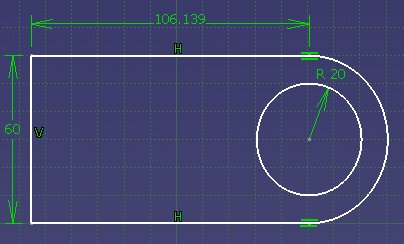
Using the Undo/Redo Command
-
Click Circle
 in the Profile toolbar.
-
Position the cursor until the SmartPick detects a constraint as shown here.
-
Click in the geometry and drag the cursor to create the circle.
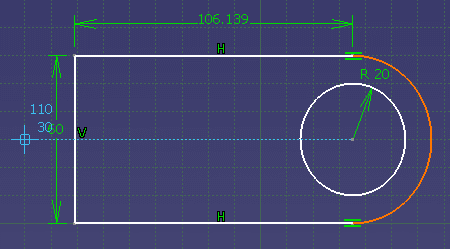
Note that when SmartPick cursor
 crosses a fictitious horizontal line that would go thru a point,
SmartPick snaps in order to remain horizontal to this point. In this case
no constraint is created.
The circle is created as shown here: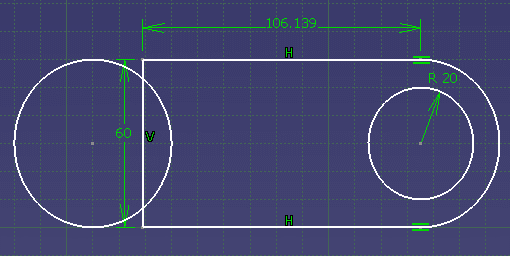
Deleting elements
-
Double-click Quick Trim
 ,
to make it permanent, from the Relimitations sub-toolbar in
the Operation toolbar.

-
Select the line within the circle.
A warning is displayed informing you that dimensional constraints cannot be deleted. -
Click Yes in the dialog box.
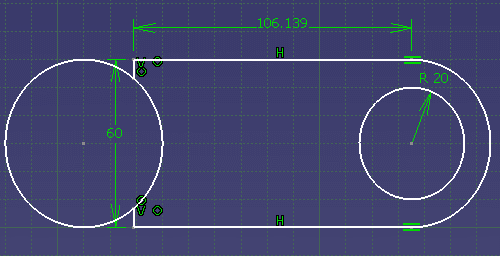
-
Select the circle from the part outside the rectangle.
The selected line and a circle part are deleted from the geometry.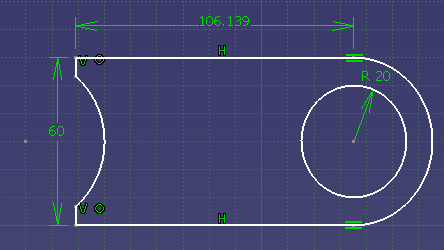
Note that the place where you select the geometry to be deleted is important as it is the exact part that will be deleted.
You can also use the contextual menu to delete elements.