-
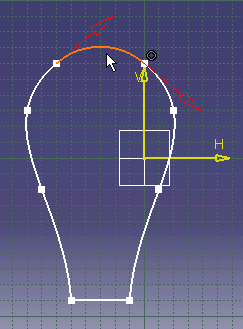
Double-click the connecting curve you want to edit.
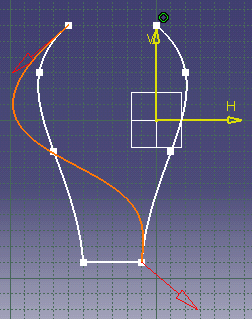
Red arrows indicating tangency directions are now displayed at each extremity point.
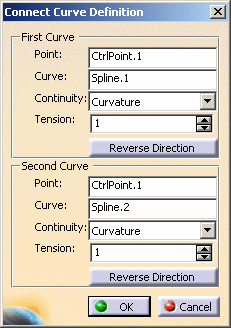
- Point: defines the extremity point (on the support curve) of the connecting curve.
- Curve: defines the support curve for the connecting curve.
- Continuity: indicates whether the connecting curve is continuous in point, in curvature or in tangency with the support curves.
- Tension: when the connecting curve is continuous in curvature or in tangency, specifies the tension which is applied to it.
- Reverse Direction: when the connecting curve is continuous in curvature or in tangency, reverses its direction.
-
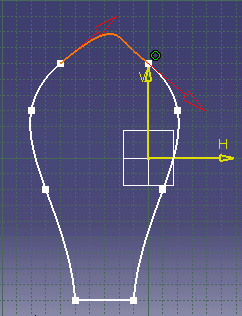
For the first support curve, select Tangency from the Continuity field and set the tension to 3.
-
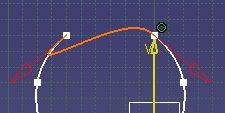
For the second support curve, click the Point field, then select another extremity point (CtrlPoint.4 for example).
-
When you are satisfied with your modifications, click OK to validate and exit the dialog box.