Prerequisites
- UG files must have a .prt extension.
- A product structure document (either new or previously created) must be visible to import data interactively.
General Notes
- Only solid bodies in a part file are converted.
- Face colors are not supported. Only body colors are imported.
- Support for filtering of blanked objects is not available, therefore all blanked objects will be converted.
- An alternative method to performing steps 2 and 3 is to select the product with the left mouse button, then, from the menu bar, select Insert -> Existing Component.
- When assembly files are converted interactively, the conversion requires only one step; the conversion of an intermediary layout file is not required as it is with command line conversions.
-
Open an empty or existing product structure document.
-
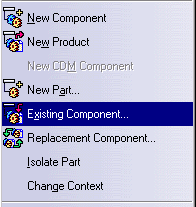
On the product structure document, use the right mouse button to select the product under which the UG part or assembly is to be imported. A menu appears.

-
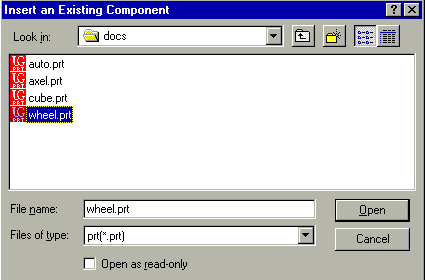
Select Existing Component. A dialog box appears, such as the one shown below.

-
Set the file type to .prt and navigate to the directory where the desired UG part or assembly files are present.
-
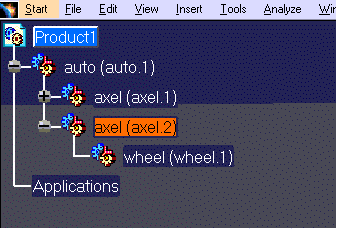
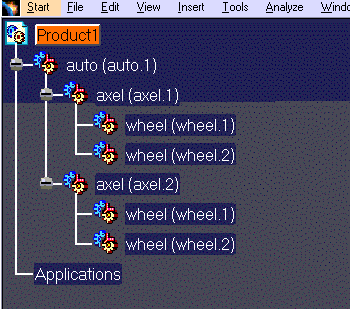
Select the part or assembly file to be imported. Click the Open button. The selected part or assembly appears under the selected product in the product structure.
![]()

