-
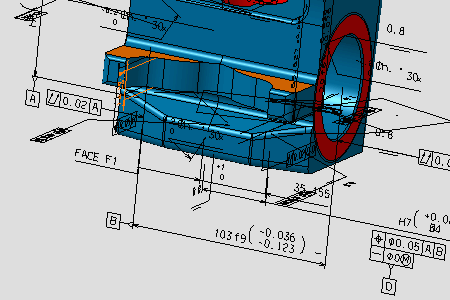
Click the 3D Visualization option:

The part is displayed with the attached annotations created using CATIA V4 FD&T function. 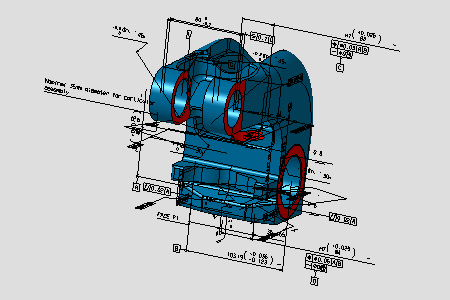
-
Expand from *TOLP4 in 3D model, the specification tree to display the annotation feature list.
*TOLP4 set contains the dimensioning and tolerancing specifications of the part model. 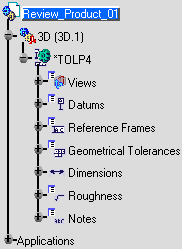
-
Right-click *TOLP4 and select Properties from the contextual menu.
The Properties dialog box appears. -
Select the Tolerancing & Annotations tab.
The Properties dialog box displays information about the annotation set. 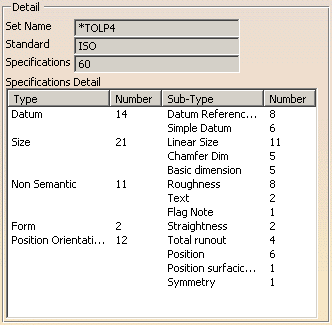
-
Click OK.
-
Select a tolerancing object in the expanded specification tree.
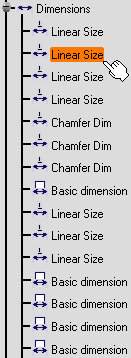
The tolerancing object of the specification tree and the surfaces used in the tolerancing annotation are highlighted. Selecting a tolerance is a way of querying the annotated model. 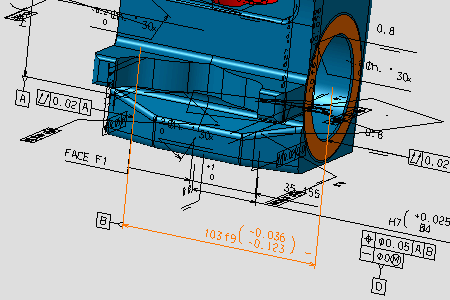
-
Click a tolerancing annotation attached to the part model.
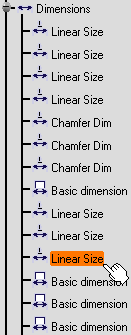
The tolerancing annotation, the tolerancing object of the specification tree and the surfaces used in the tolerancing annotation are highlighted.
The specification tree is re-framed on the node including the corresponding tolerancing entity.
Selecting a tolerance annotation attached to the model is a way of querying the annotated model.