-
Click Extract Curves
 .
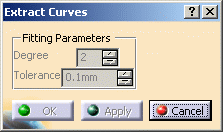
.The Extract Curves dialog box is displayed. It is empty. The icons from the Tools Palette become available: 
-
Click the following icons to:
-
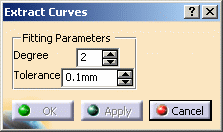
Define the degree of precision of the curve and associate a tolerance.
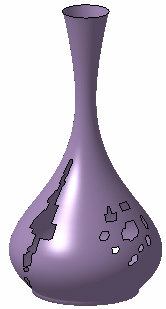
The highest the degree, the less precise the curve. Holes are displayed on the polygonal mesh. 
-
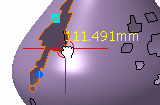
Select a hole.
A light blue square handle appears on the hole and a blue dot handle indicates the start and end of the hole curve. 
The square handle lets you break the hole curve into multiple segments: -
Click it and move it along the hole to break the curve into two segments.
-
Repeat the operation as much as needed to break the curve in additional segments.

The dot handles let you modify the starting and ending point of the curve segments: -
Click a dot and move it along the hole to change the starting and ending point of the segment.


You can right-click a dot to remove it. 
The hole is segmented in as many curves as there are handles. -
Click Apply to create the curves.
Curves (identified as Curve.xxx) are added to the specification tree. -
Click OK to exit the command.
![]()

