-
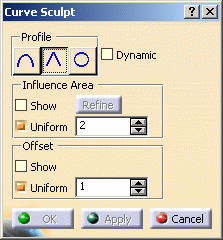
Click Curve Sculpt
 .
.
-
Holding the Ctrl key, select the curves to sculpt with.
-
Select the polygonal mesh.
-
Click Apply.
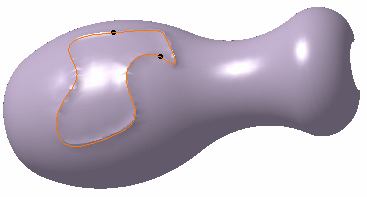
-
Define the profile:
-
Smooth
-
Sharp (used in our example)
-
Circular

You can check the Dynamic button to automatically sculpt the mesh on the fly. -
-
Define the influence area around the curves:
-
Check the Show button to display the area that is affected by sculpting on the polygonal mesh. Use the manipulators to define the area (as shown in the picture)
-
Click Refine to refine the sculpt by adding triangles
-
Check the Uniform button and use the spinners if you wish to force a constant transition width along the curves.
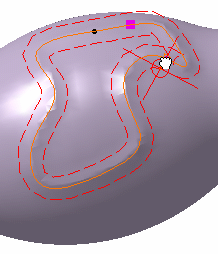
If you uncheck the Uniform button, you are able to define the influence area curve by curve.
Simply position the manipulator on the curve whose area you wish to modify and drag the manipulator to the desired transition width.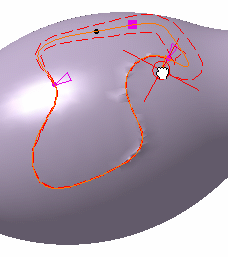
-
-
Define the offset:
-
Check the Show button to display the change to the sculpting curve before applying it to the polygonal mesh. Use the manipulators to define the offset (as shown in the picture)
-
Check the Uniform button and use the spinners if you wish to force a constant offset.
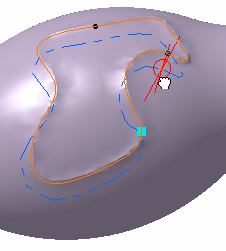
If you uncheck the Uniform button, you are able to define the offset curve by curve.
Simply position the manipulator on the curve you wish to modify the offset and drag the manipulator to the desired offset. -
-
Click OK to end the sculpt.
Here is the result: 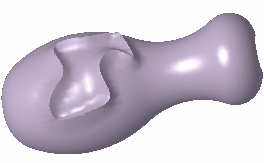
![]()
