points or mesh or to create a planar scan.
-
Click Projection on Plane
 in the Operations toolbar.
 -
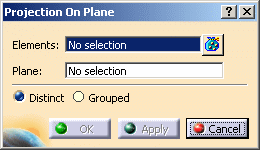
The Projection On Plane dialog box appears:

-
Select Mesh Creation.1 as the element to project.
Multi-selection is available. The elements to project can be one or several clouds of points or meshes.
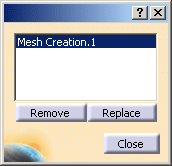
Click to visualize, remove or replace elements in the selection.

-
Select the xy plane.
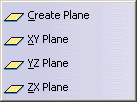
You can select an existing plane, or use the contextual menu:

-
Select one of the output options:
- Distinct to create one output element for each input element,
- Grouped to create one single output element.
-
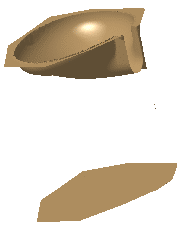
Click Apply. The mesh is projected on the selected plane:

-
Click OK. ProjectionOnPlane.1 is created.
![]()