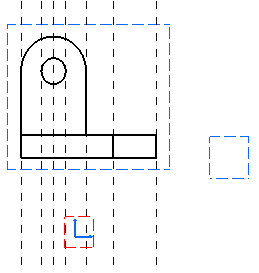
Go to Tools > Options > Mechanical Design > Drafting, click on the General tab and deactivate the Grid display option from the dialog box.
-
Right-click the view to used as reference.
In this particular case, right-click the bottom view (which is not active and therefore squared in blue). -
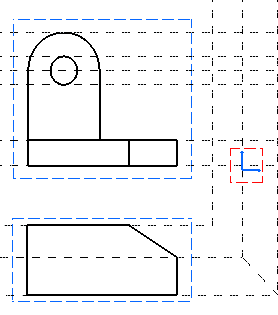
Select Bottom View Object > Show Folding Lines.
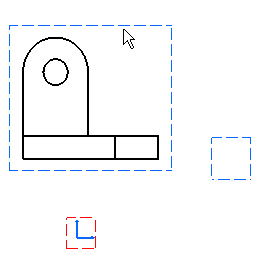
In the case of more complex geometry, you can select one or more element(s) in the reference view and display the corresponding folding lines. As a result, the views are not overloaded with folding lines.
This is also true in the case of 2D components.
The folding lines appear.
At any time, you can right-click the view and delete these folding line using the Hide Folding Lines option from the contextual menu.
-
Click the Profile icon
 and create geometry in the top view using the folding lines.
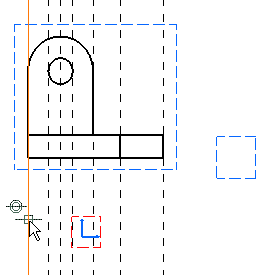
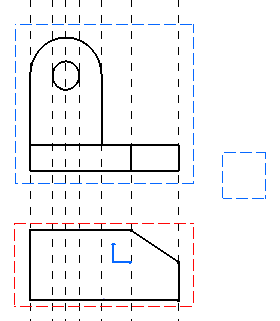
-
Right-click the left view in which you are now going to create geometry and select Activate View.
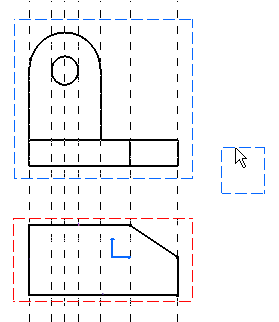
The folding lines disappear.
-
Right-click each non-active view one after the other and select Show Folding Lines for each view.
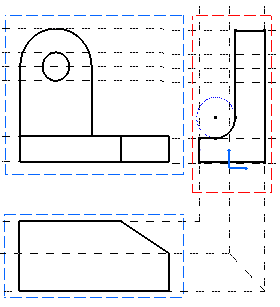
The folding lines now appear as shown here:
-
Click the Profile icon
 and create geometry in the left view using the folding lines.
-
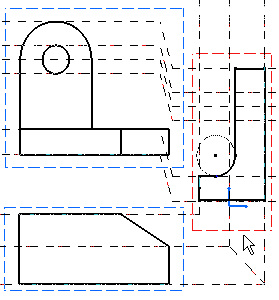
Click a view and move it.
You can note that even when views are not aligned, folding lines remain associative.
- All the above described functionalities are also true in the case of views with a different scale.
- In a Generative Drafting context, folding lines are not fully supported in the case of aligned section views.
