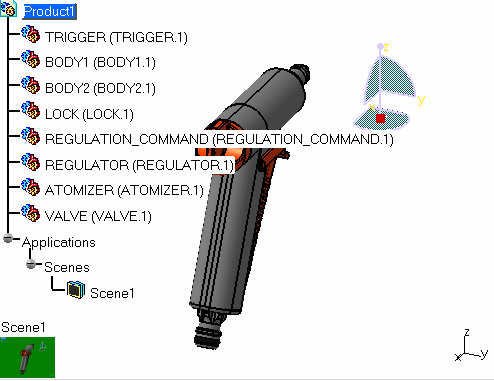
ATOMIZER.cgr
BODY_1_2.cgr
BODY_2_2.cgr
LOCK.cgr
REGULATION_COMMAND.cgr
REGULATOR.cgr
TRIGGER.cgr
VALVE.cgr
-
Click the Create Scene icon
") .
.
The Edit Scene dialog box and a scene representation in the window appear.
")
-
Click OK to confirm the scene identifier.
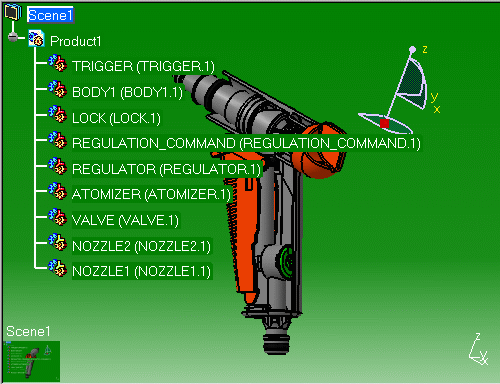
- the background color turns to green.
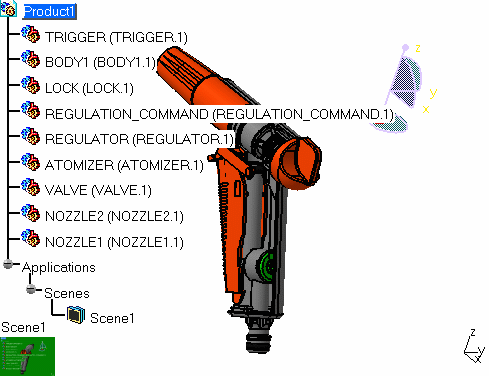
- Scene 1 is identified in the specification tree.

-
Click the Exit From Scene icon
") to swap to the main window.
to swap to the main window.
The scene is created and its representation appears in the left corner of the main window.
Adding Components to a Scene
-
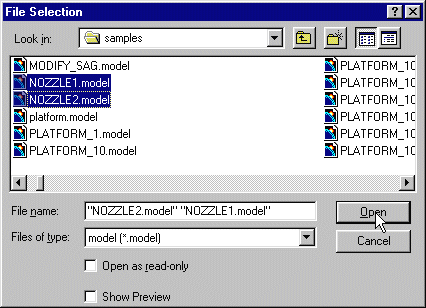
Now add the NOZZLE, for this:
- Right-click Product1 in the specification tree and select Components -> Existing Component...
- Shift-select NOZZLE1.model and NOZZLE2.model and then click Open.
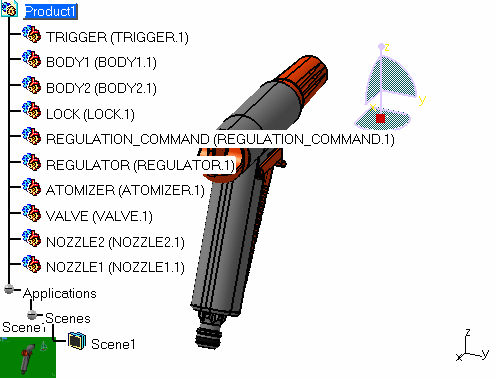
The added components (NOZZLE_1 _2 and NOZZLE_1_2) are identified in the specification tree and added in the geometry area.
-
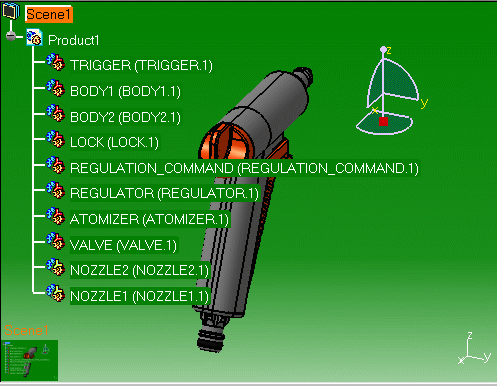
Double-click scene1 to swap to the scene window:
- the newly-added components appear in the specification tree
- by default, their shape representations are deactivated, therefore the scene visualization is unchanged
-
Click the Exit From Scene icon
to update the scene to reflect the changes made.
Removing Components from a Scene
-
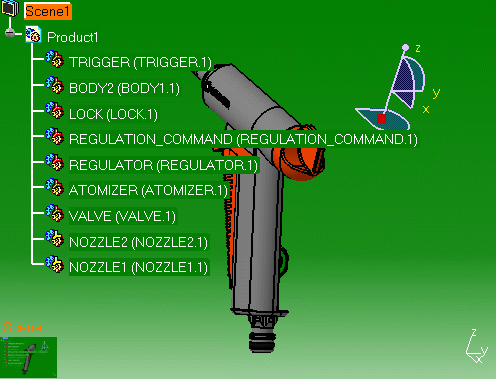
Remove, for example, the BODY2 from the initial product (right-click it in the specification tree and select Delete from the contextual menu.)
The product is updated accordingly.
-
Double-click the scene representation to enter the scene.
Scene 1 has been updated in the same manner.
-
Click the Exit From Scene icon
to update the scene to reflect the changes made.
Replacing Components in a Scene
-
Replace, for example, the BODY1 in the initial product with the BODY2.model (right-click BODY1 in the specification tree and select Components -> Replace Component... from the contextual menu, then, in the File Selection dialog box, select BODY2.model and click Open.)

The product is updated accordingly.
-
Double-click the scene representation to enter the scene.
Scene 1 has been updated in the same manner.
![]()