![]()
Transferring from 3D to 2D
-
Click the Geometry Transfer icon
 .
.
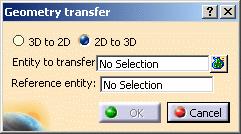
The Geometry Transfer dialog box is displayed.
-
Click 3D to 2D.
-
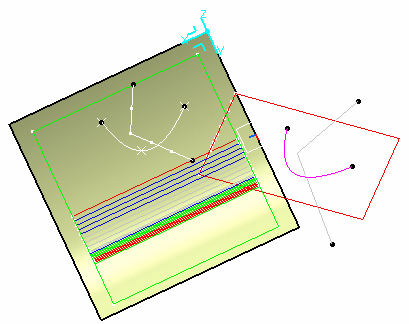
On the geometry, select the 3D curve you want to transfer on the 2D flattened ply.
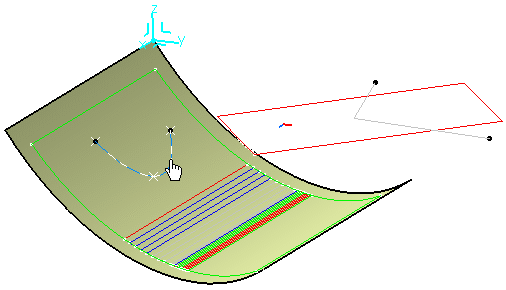

Click the Multiselection icon at the right of the dialog box if you want to transfer several geometries.
-
Select Ply.1 in the specification tree.
-
Click OK to transfer the spline on the flattened ply.
For the purpose of this scenario, the 3D curve is displayed in pink.
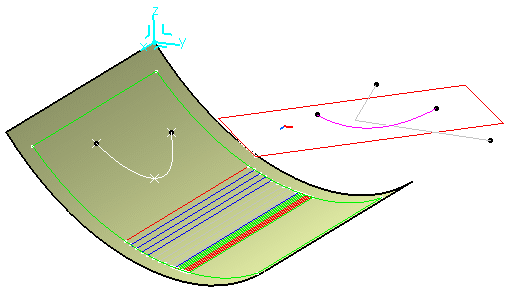
The specification tree is updated accordingly.

Only the part of the 3D curve lying on the ply is to be transferred on the 2D geometry. In case the segments should be exceeding the ply's contour, they would not be taken into account.
Transferring from 2D to 3D
-
Click the Geometry Transfer icon
 .
. -
In the Geometry Transfer dialog box, click 2D to 3D.
-
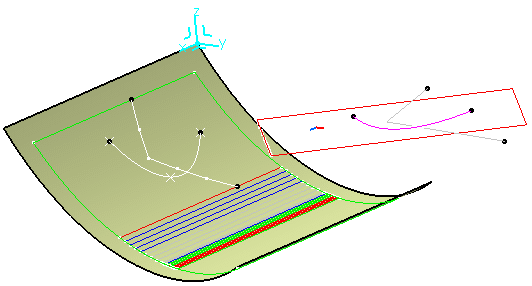
On the flattened ply, select the 2D curve you want to transfer on the 3D geometry.

-
Select Ply.1 in the specification tree.
-
Click OK to transfer the join on the flattened ply.

![]()