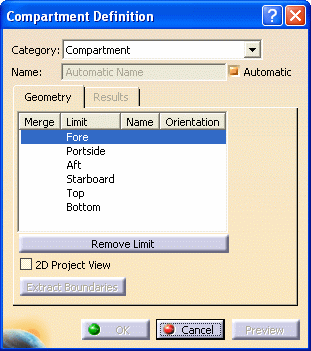
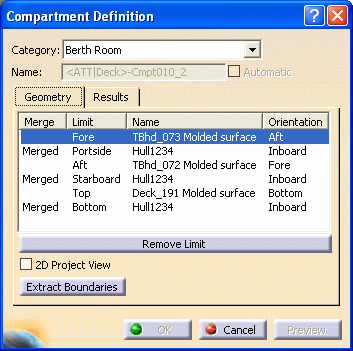
The Compartment Definition dialog box displays.
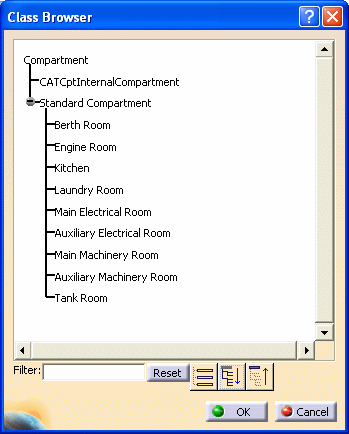
The Class Browser
opens. Click the Expand Tree
![]() button, if necessary, to display a list of standard compartment types.
button, if necessary, to display a list of standard compartment types.
The selected Name and Orientation are identified in the dialog box.
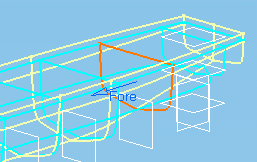
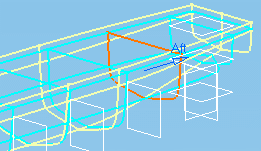
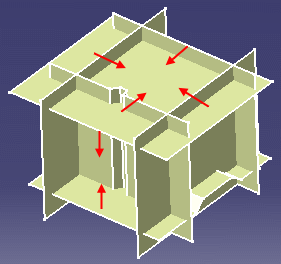
Creating Compartments with Less than Six Faces
To create compartments with less than six faces, you need to merge limits having the same functional plate or hull surface. There are several ways you can do this:
-
You can select surfaces corresponding to the various limits in the order shown in the dialog box, selecting the surface that corresponds to more than one limit more than once.
- You can indicate which limits correspond to only one surface by double-clicking limits in the dialog box, then selecting the corresponding surface.
- You can select the surface, click the limit again in the dialog box to indicate that this limit is to be merged, then select other limits that also have this surface as a limit.
Merged displays in the Merge column alongside the appropriate limits.
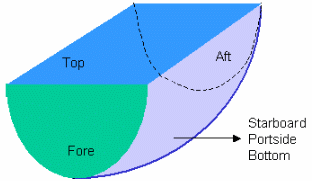
One face, round tank:
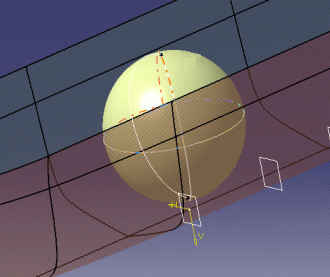
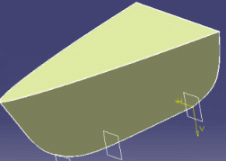
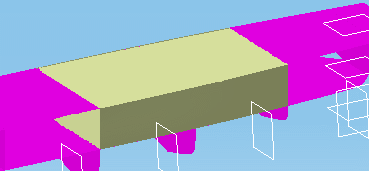
The compartment is identified in the specifications tree.
![]()