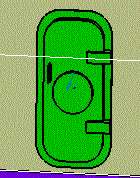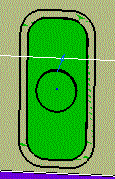
Note that when you move your mouse pointer over a bulkhead or wall, the part you selected "moves" with it. You are prompted to select the placement boundary.
This also fixes the lateral position of the door.
You are prompted to select the orientation boundary.


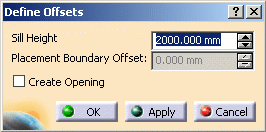
The Define Offsets dialog box displays.

A placement vector also displays on the deck - it is the red arrow in the image below. Click it to place the door below the deck.

- For Sill Height, key in the orientation boundary offset, (the distance between the orientation boundary, in this case the deck, and the surface on which the orientation plane was placed). In this example it is the bottom of the door.
- Click Apply to see the location of the part.
- (Optional) Click the Create Opening checkbox to automatically create the opening for the part when it is placed. (Note, the part you are placing must have an opening associated with it for this command to work.)
- Click OK to place the part.
The door is placed at the location you defined, and it displays in the specifications tree.