The menus available and the setup of the dialog boxes may change depending on the workbench you are working in.
-
Open file DemoRASA.CATPart in the samples directory.
-
Click the Geometrical Zone icon
 .
. -
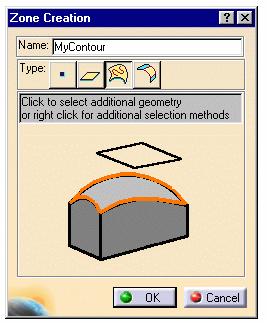
Select the Line button, call the contour you are about to select "MyContour"
and click the orange outline in the sensitive icon.
-
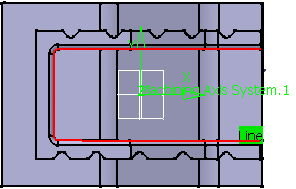
Select this contour:
Click OK -
Create a sweeping operation in the tree and select the whole body for the part.
-
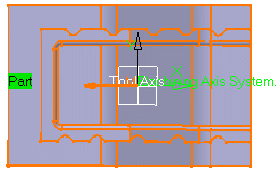
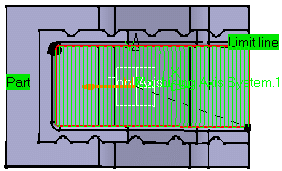
Choose Select zones in the limiting contour contextual menu.
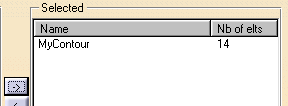
In the dialog box that is displayed, choose MyContour and select it with the arrow.
Click OK.
-
Click Tool Path Replay
 .
.
-
You can also define geometrical zones in an operation dialog box.
Open the sweeping operation you have just defined.
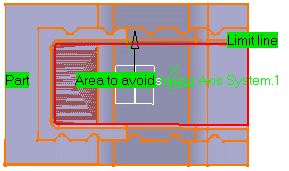
Select this face as an area to avoid:
-
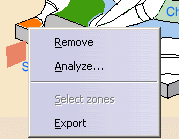
Select Export in the Area to avoid contextual menu and call it MyPlane.

-
Click OK. You can now use this surface in the same way as you used the contour above.
- All geometrical zones that you create can be used in any number of operations.
-
The Hide/Show item in the contextual menu does not work for geometrical zones .
![]()